User manual of the application HD4DP v2
User manual of the application HD4DP v2In this manual we describe the following functions of the application HD4DP v2:
Request access to an HD application for a specific project
Request access to an HD application for a specific projectHealthdata.be applications such as HD4DP v2 and healthstat.be process sensitive personal information. Therefore, strictly controlled processes are used to grant access to these applications. The Entity Access Management (EAM) portal of healthdata.be facilitates these processes.
Make sure to use the current version of the EAM system. The user documentation can be found here.
This documentation is being updated regularly. We try to provide as correct, complete and clear as possible information on these pages. Nevertheless, if you see anything in the documentation that is not correct, does not match your experience or requires further clarification, please create a request (type : request for information) via our portal (https://sciensano.service-now.com/sp) or send us an e-mail via support.healthdata@sciensano.be to report this documentation issue. Please, do not forget to mention the URL or web address of the page with the documentation issue. We will then adjust the documentation as soon as possible. Thank you!User roles in HD4DP v2
User roles in HD4DP v2Each healthcare organisation has at least one Access Manager who is watching over the access rights to the applications of the own organisation and is managing them in the HD Entity Access Management (EAM) system. In this process, access requests by healthcare organisation employees are analysed and validated if legitimised. The scope of the accesses granted to HD4DP2 may differ, which is reflected in various user roles. Based on access rights, following three user roles can be distinguished:
Local Study Lead (author):
The Local Study Lead can:
- edit and review all peer registrations (regardless of role) for the study or project;
- make registrations in HD4DP v2
This role might be but should not be limited to the responsible for the study or project within the participating healthcare institution.
Local Study Associate (author):
The Local Study Associate can:
- edit and review the own registrations, not those of other colleagues from the same healthcare organisation participating in the same study or project. The indicated registrations are limited to the patients treated by the Local Study Associate;
- make registrations in HD4DP v2.
The Local Study Associate is a healthcare provider participating in the study or project. This is reflected in the registration form.
Local Study Support (co-author):
The Local Study Support can:
- edit and review registrations belonging to the author group they are linked to;
- make registrations in HD4DP v2.
A Local Study Associate and Local Study Lead can delegate registration tasks to a Local Study Support. This might be but should not be limited to an administrative assistant or staff from a medical coding department. The Local Study Associate and Local Study Lead are still considered the author of the registration; the Local Study Support is considered the co-author. The Local Study Associate and Local Study Lead can view and modify Local Study Support entries.
By default, only 1 Local Study Lead is intended by healthdata.be (Sciensano) for each project within each organisation. The idea is that only one person is meant to see all submissions for that project within that organisation. This policy prevents users of HD4DP v2 from seeing personal and sensitive information from individuals with whom they do not have a therapeutic relationship. For policy deviations on this, healthcare organisation staff should contact their Data Protection Officer (DPO).
Remarks:
- The scope of the access rights does not necessarily reflect the hierarchy within your healthcare organisation.
- It is up to the Access manager to change roles from/to Local Study Lead, Local Study Associate and Local Study Support. These requests are carried out in the EAM system.
Access the application HD4DP v2
Access the application HD4DP v2To access the application HD4DP v2, you must first request an account. If you do not have an account yet, please consult "Request access to an HD application for a specific project" first.
Once your account has been created and the registry is put in production, you will receive an e-mail with the following information (Note that the text between the [ ] will be adapted):
- Organization: [RIZIV number - Name]
- Login: [email]
- Password: [password]
- Application URL: [url]
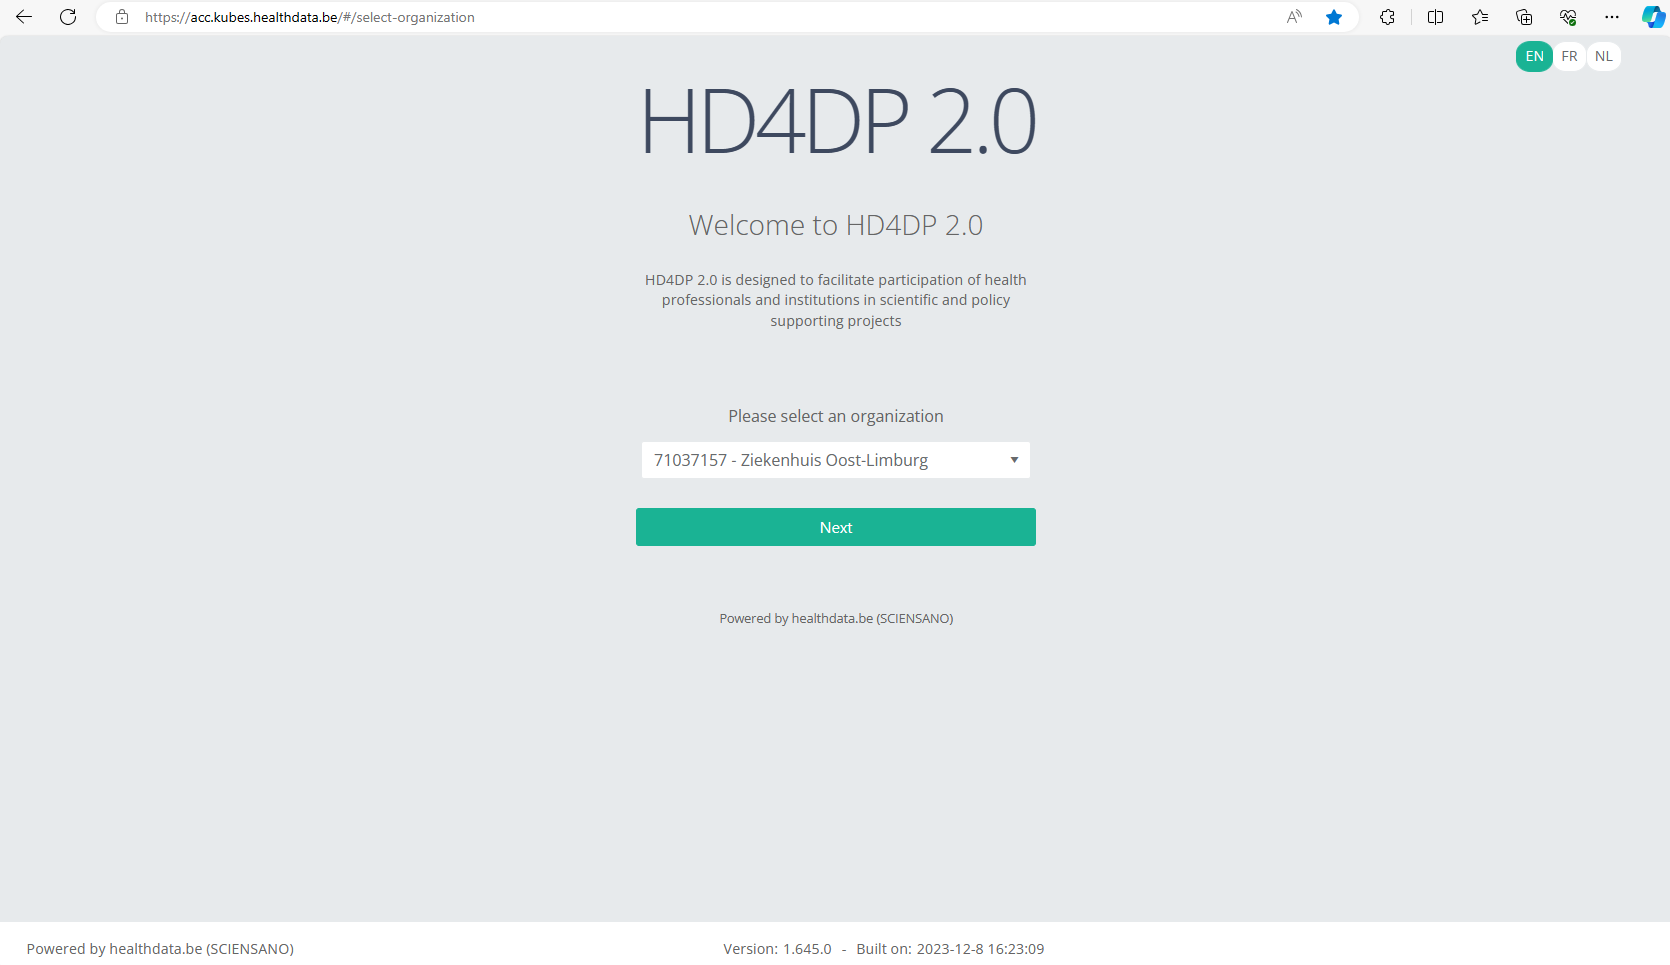
With these credentials you can access the application HD4DP v2 of your organization:
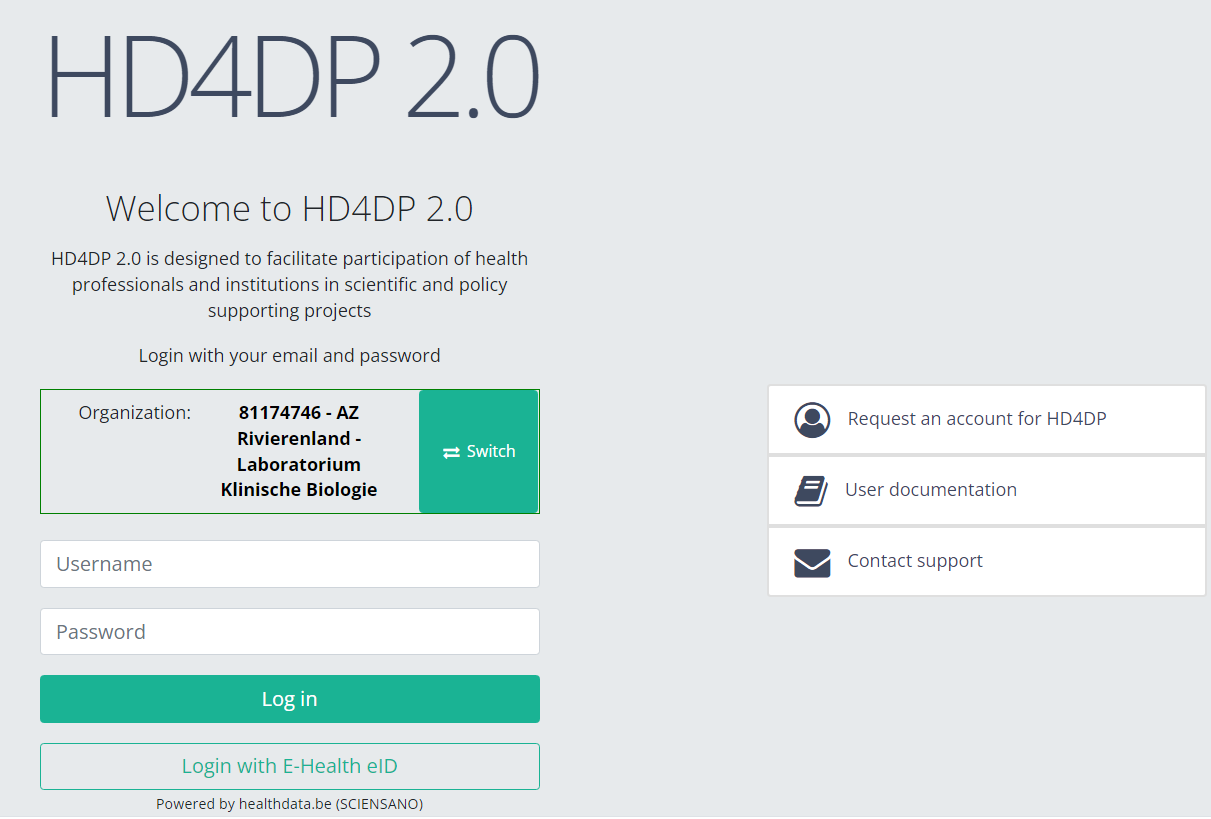
- Go to the url mentioned in the email
- Select "your organization" from the list
- Your organization: [RIZIV number – Name]
- Click on "Next"
- Fill in your "username" and "password"
- Click on "Log in"
Please be sure to log off after making use of the application HD4DP 2.0, or any other Healthdata.be application. Just closing your internet browser does not guarantee that your application with registrations has been closed.
Navigate to the MVO project
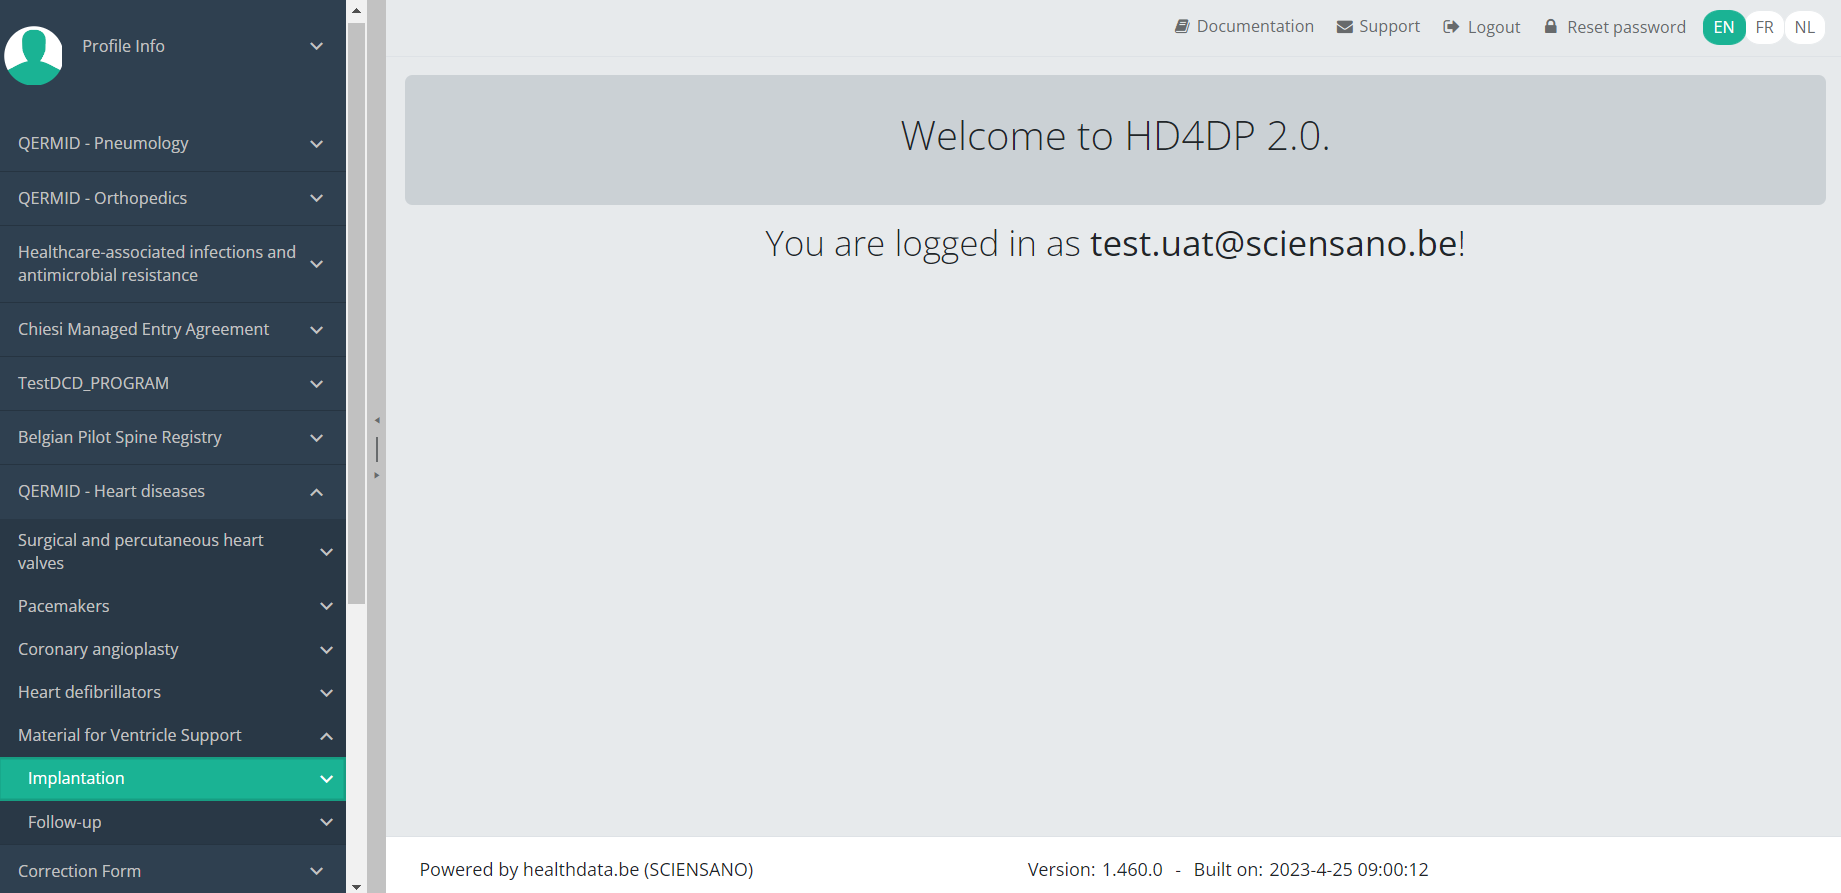
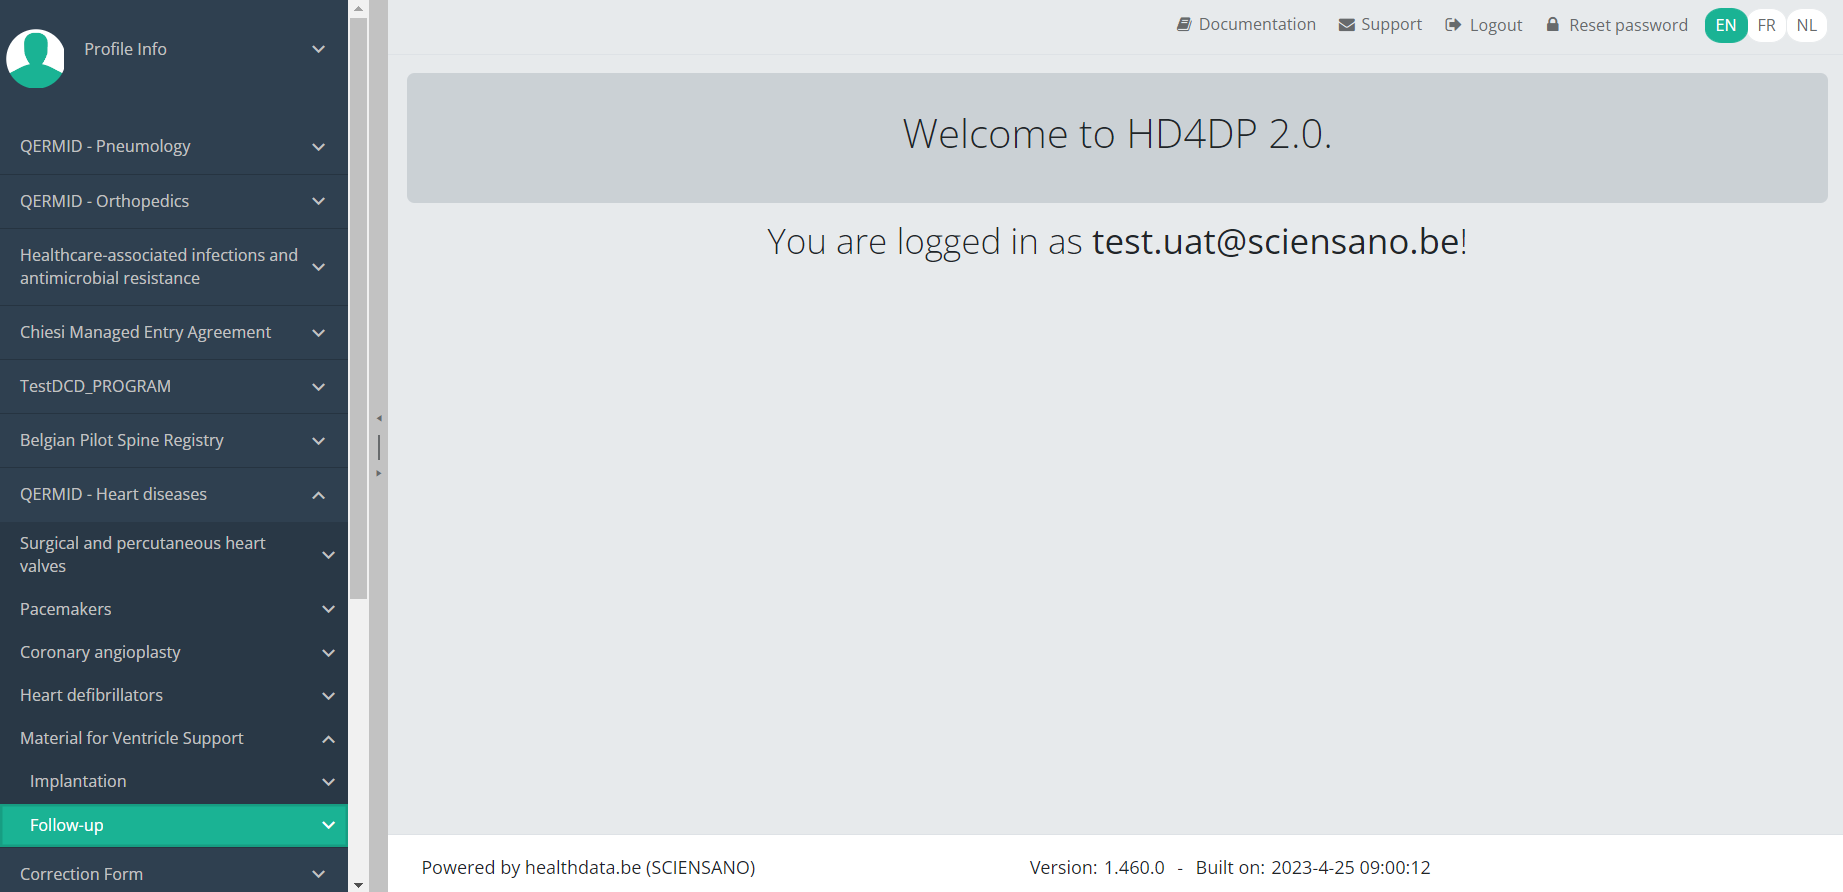
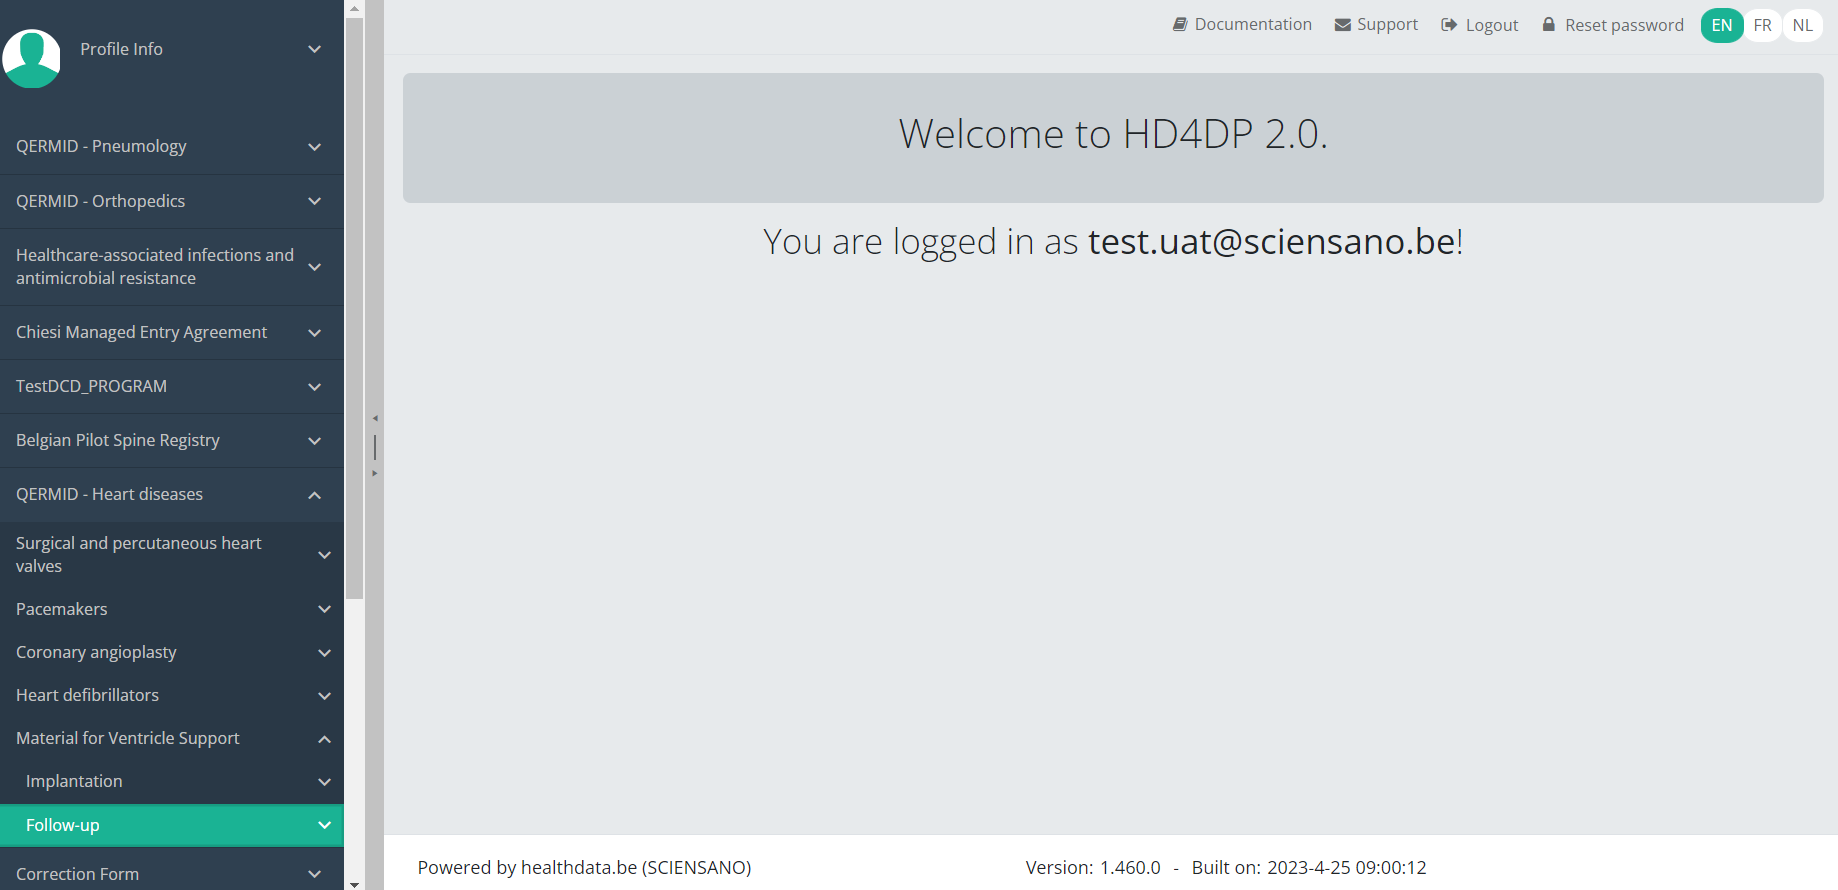
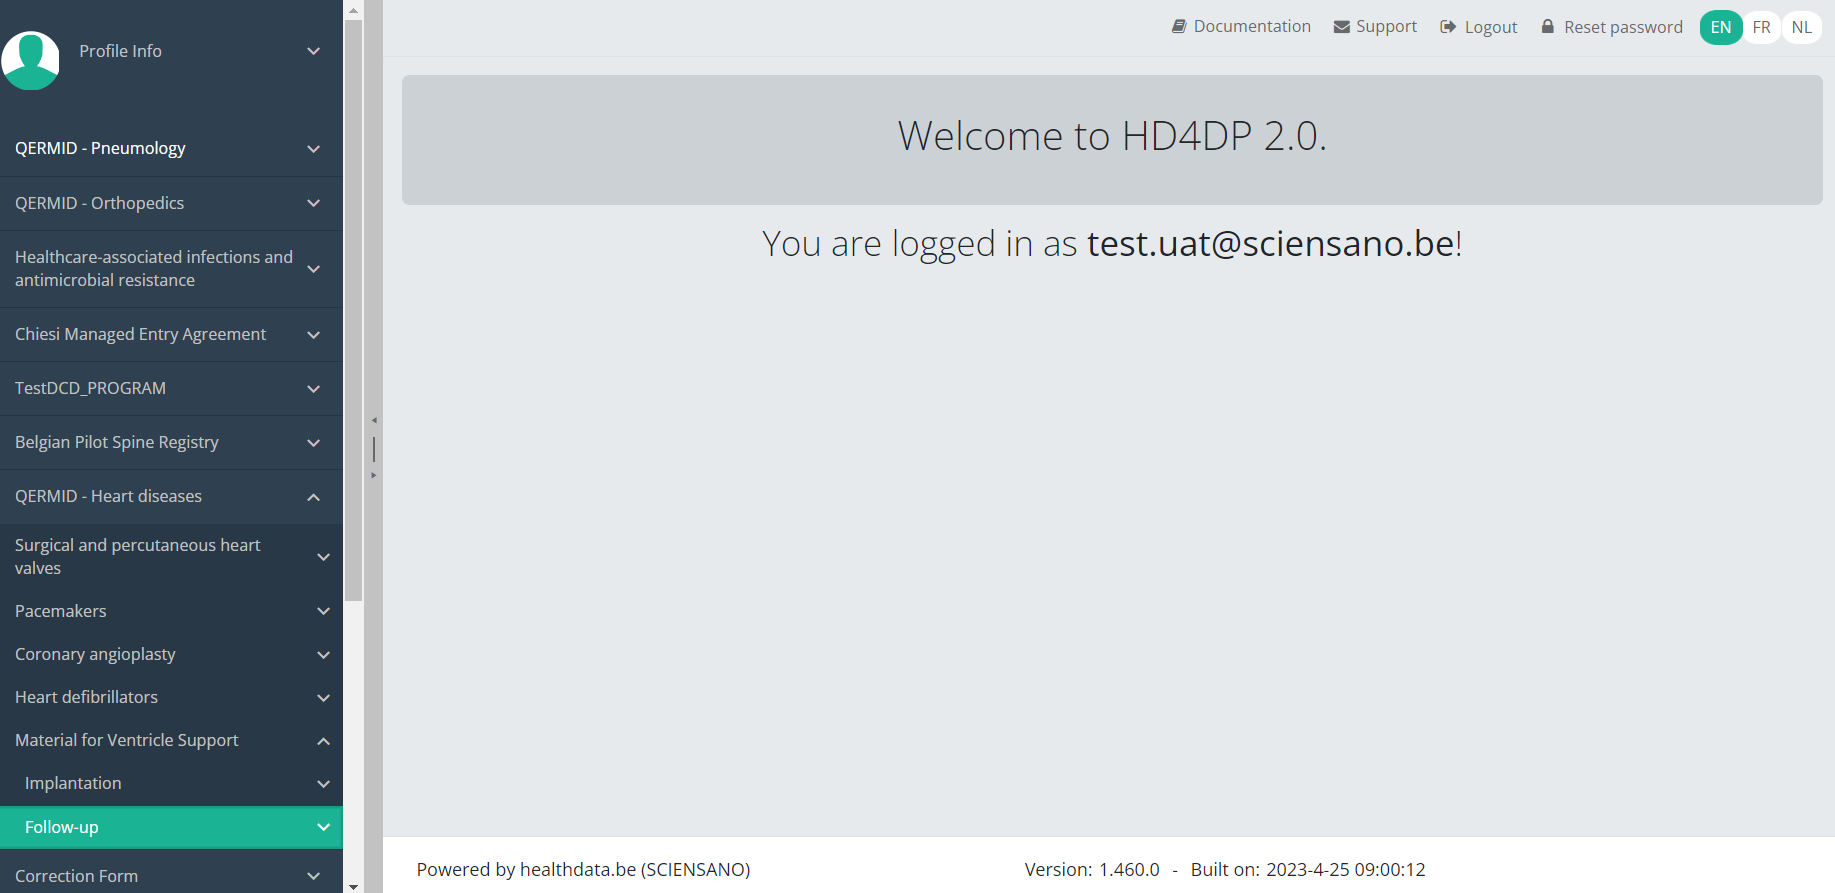
Navigate to the MVO projectWhen logged in, you will see the Welcome page. In the left dark blue menu you can see all the study programs and projects you have access to.
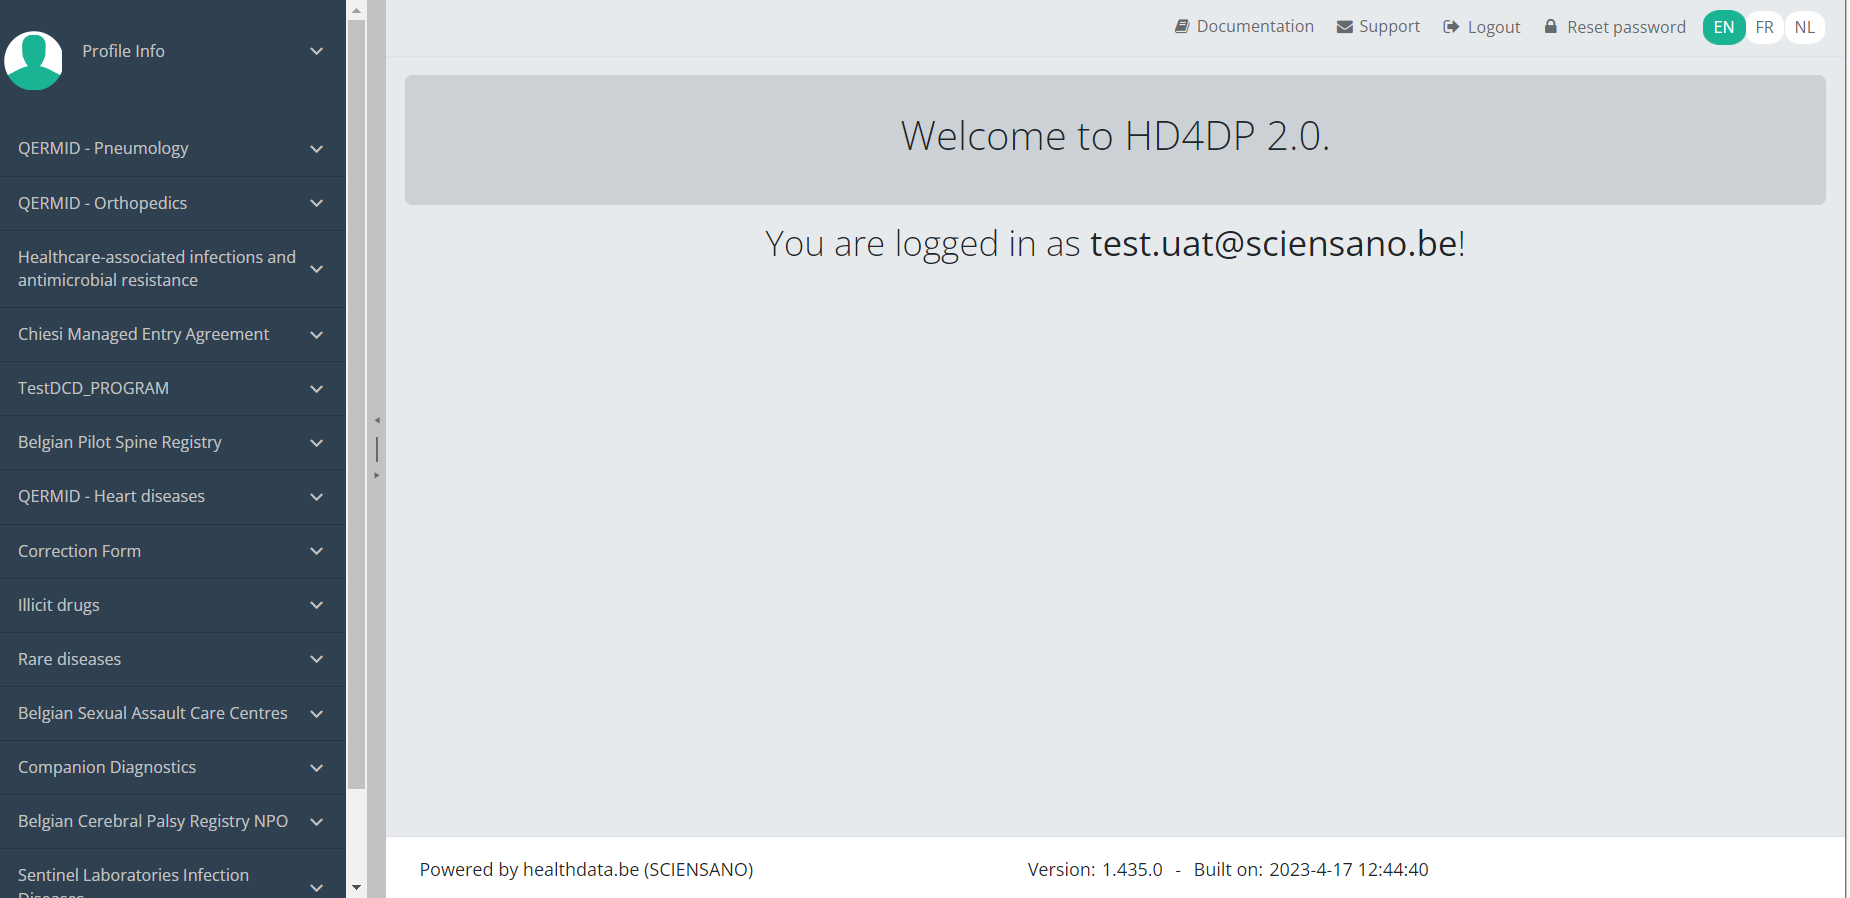
When you select the study program QERMID - Heart diseases, you can see the study projects Material for Ventricle Support.
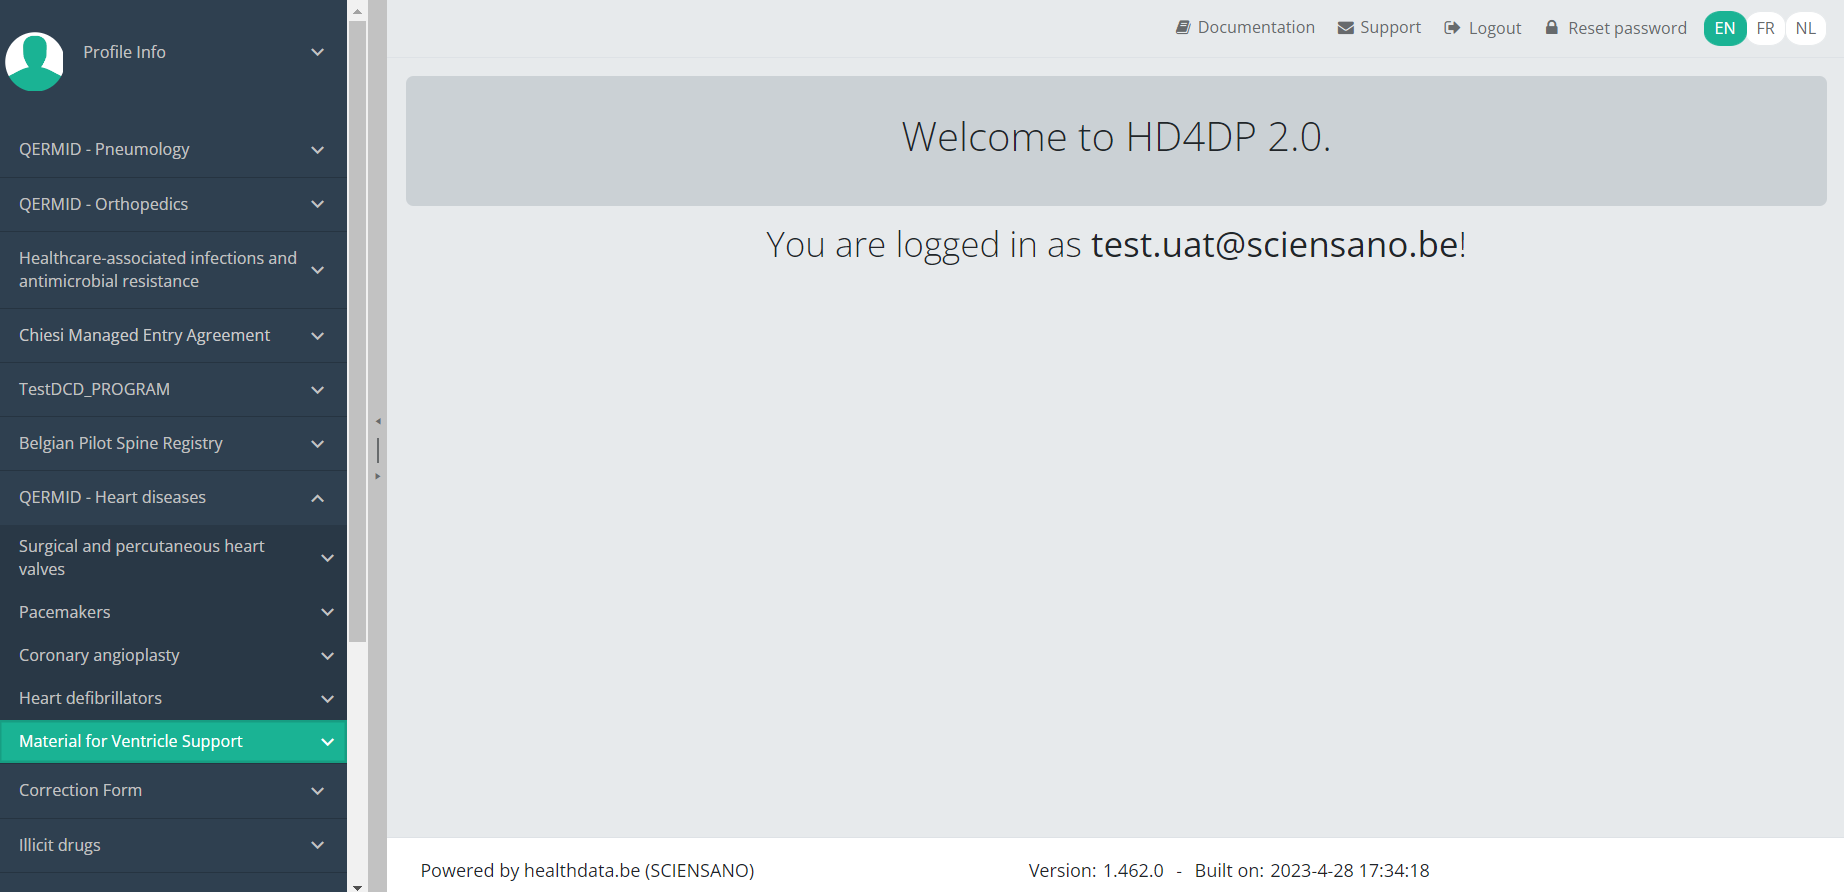
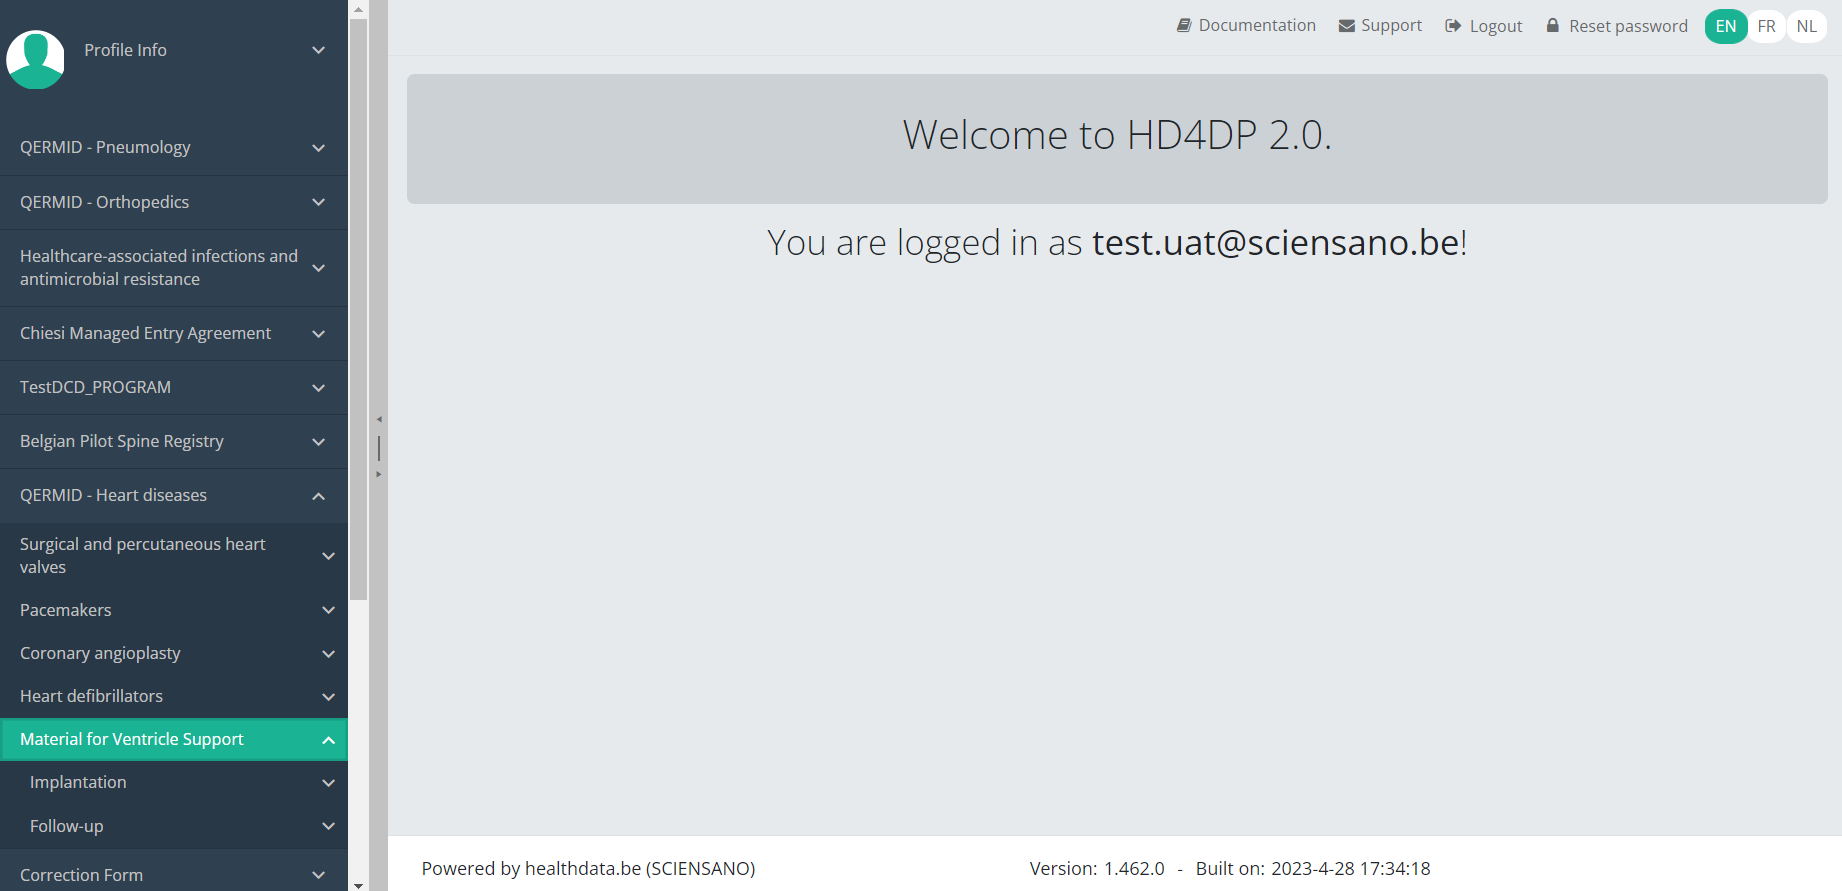
Select the study project Material for Ventricle Support.
You will see that the study project Material for Ventricle Support consists of 2 parts: Implantation and Follow-up.
Create an MVO registration
Create an MVO registration Bart.Servaes Wed, 04/12/2023 - 18:02Create an MVO Implantation registration
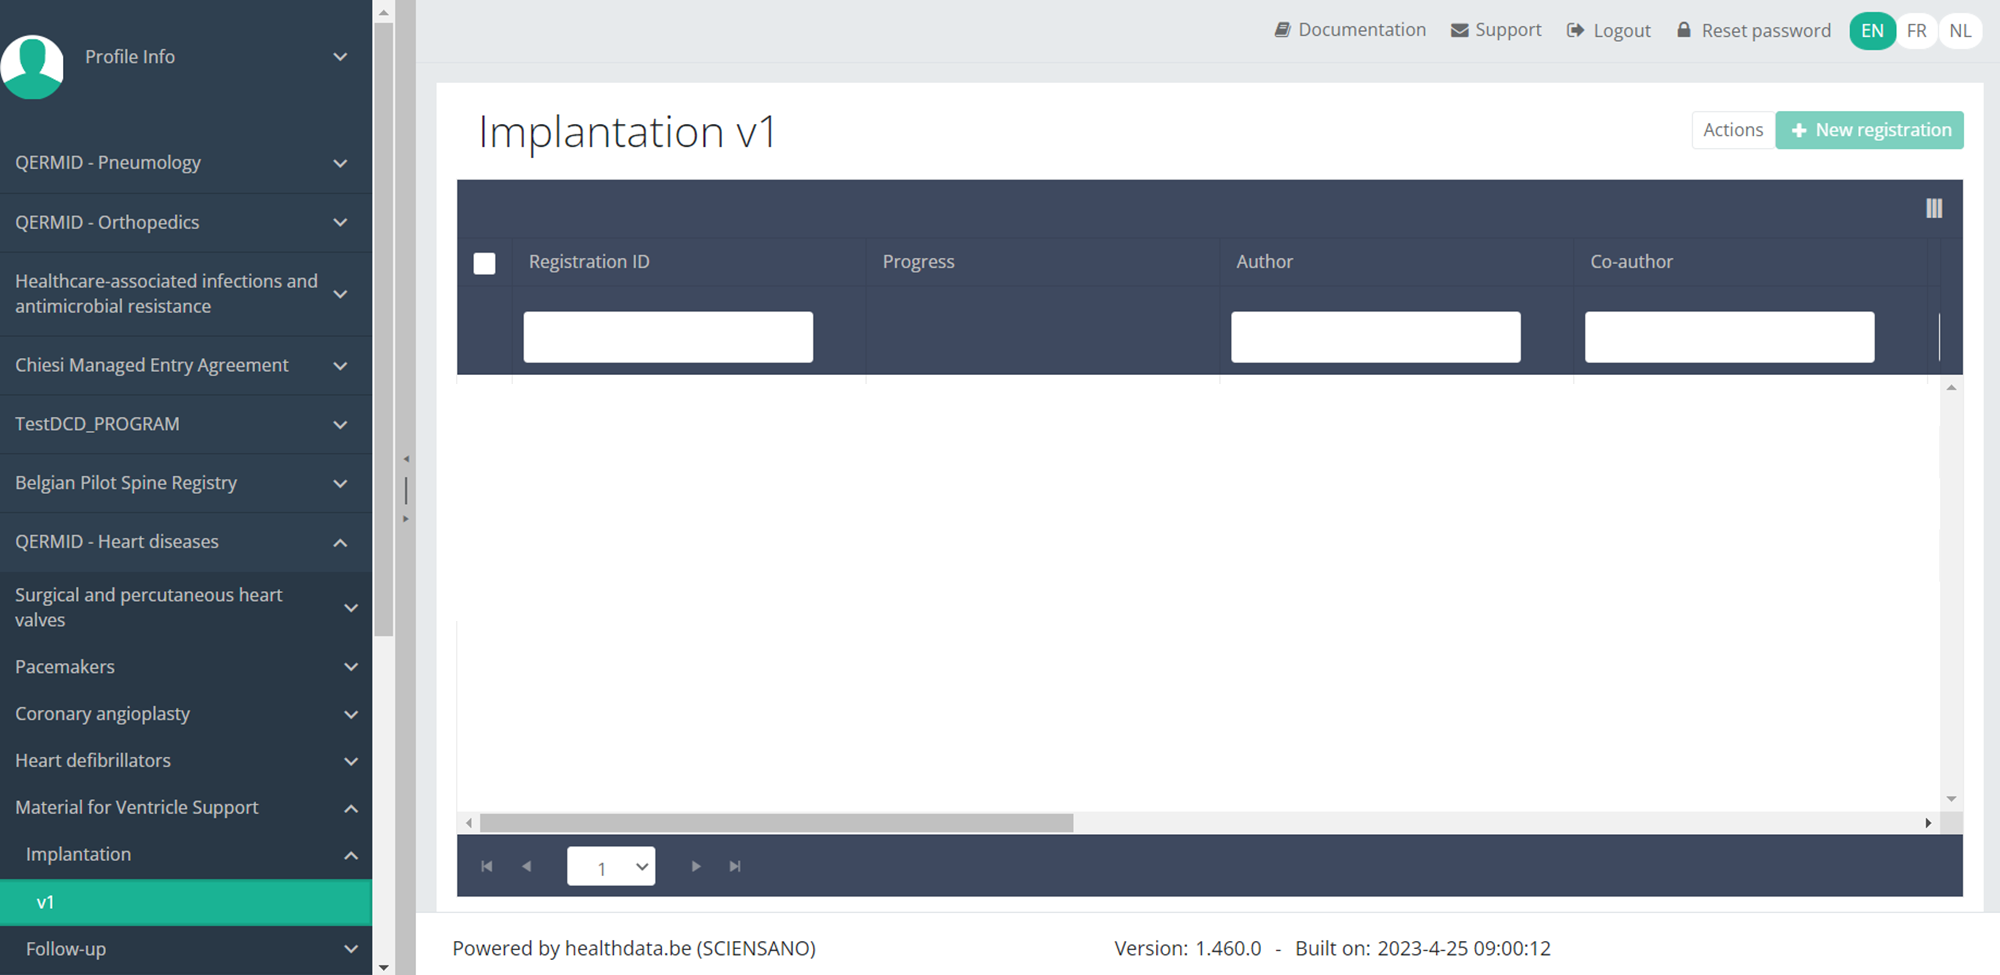
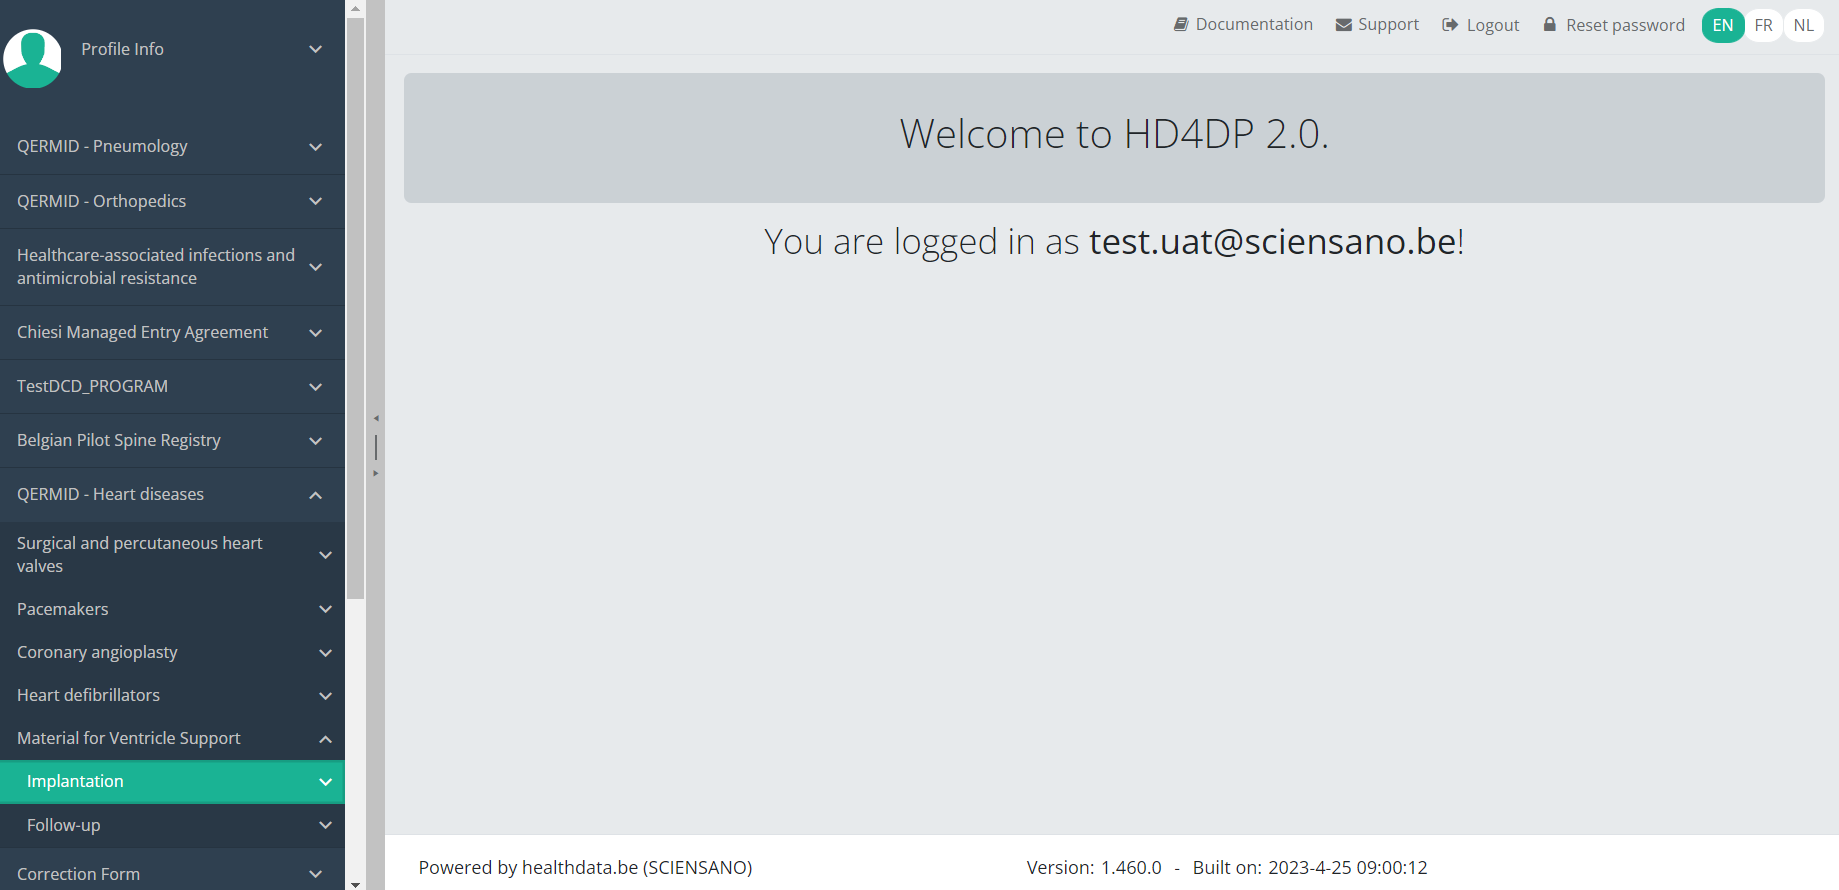
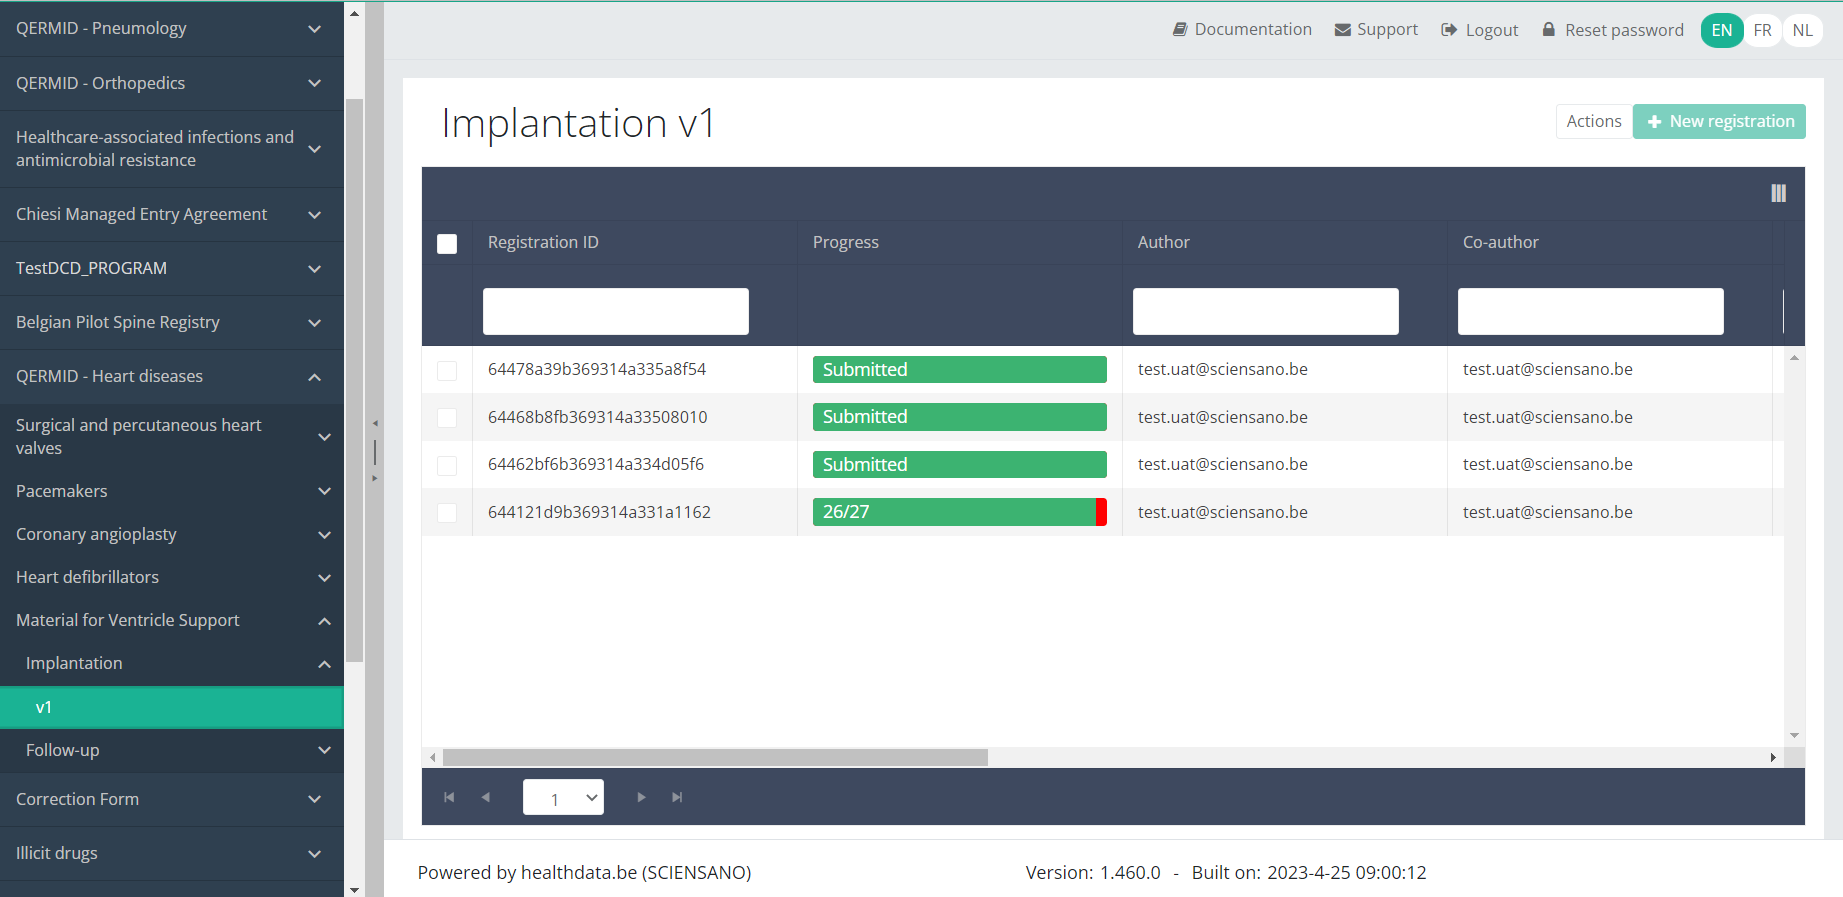
Create an MVO Implantation registrationTo create an Implantation registration for the study project Material for Ventricle Support, select "Implantation" in the dark blue left menu.
You will see the number of versions of this study section. In this case, there is one version: v1.

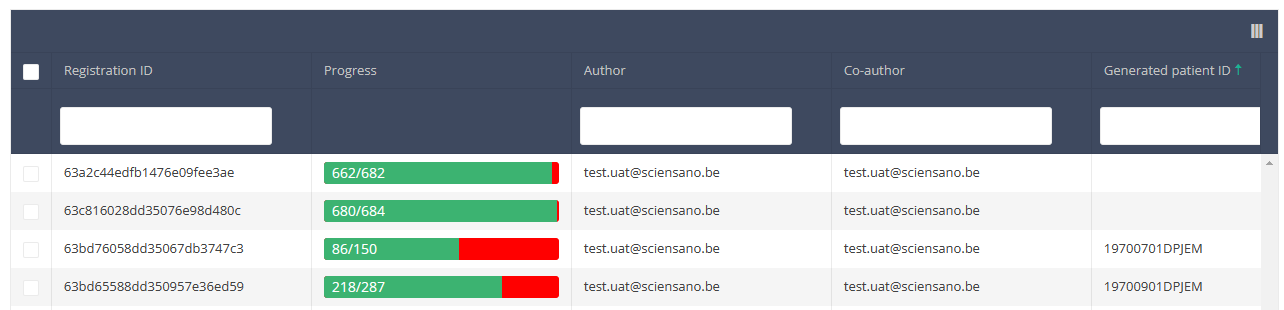
When you select the highest version of this study section for the first time, you will see an empty overview table in the main part of your screen. The table contains, among others, the following items: Registration ID, Progress, Author, Co-author, Unique ID, Business key, Registration code, National registry ID of the patient...
NOTE:
The study section is not always available in the selected language. In that case the text frame pictured below covers the language selection buttons. It automatically disappears after a few seconds.
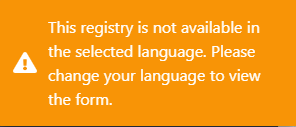
You will have to select now the desired language with one of the other language buttons:
NL for Dutch, FR for French or EN for English.
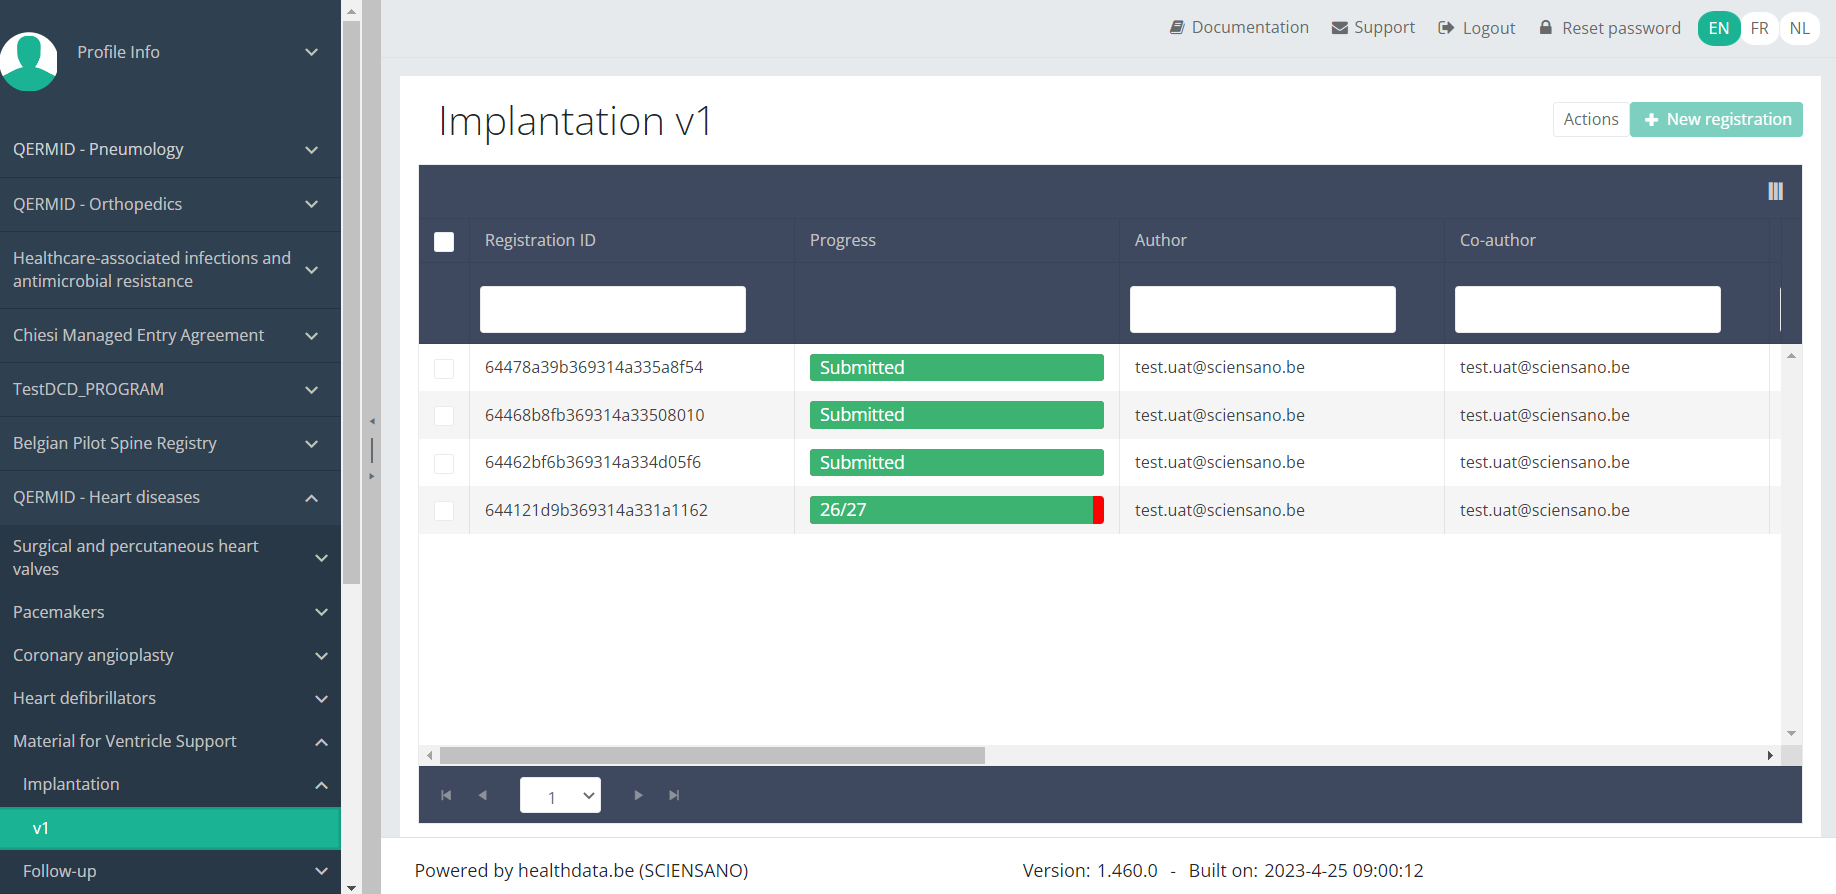
In the top right corner of the screen you can find a green button "+ New registration". Select this button.
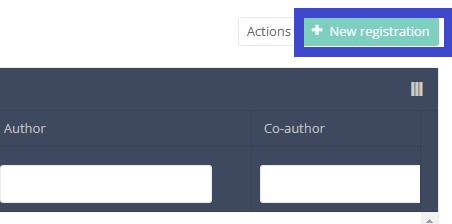
After selection of the "+ New registration" button the main screen will be replaced by 2 sections: a study form in the middle of the screen and a table of contents on the right-hand side of the screen.
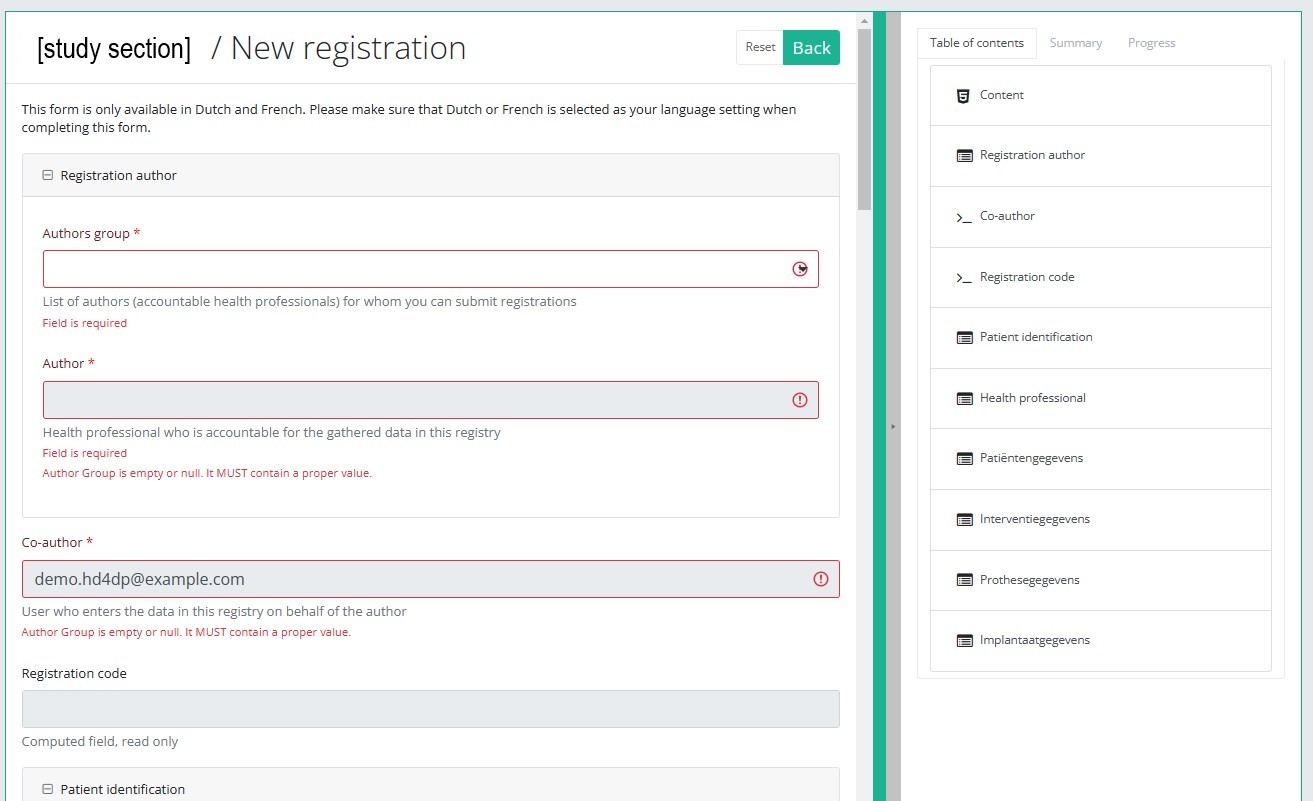
By completing the study form you will create a registration for the respective study project.
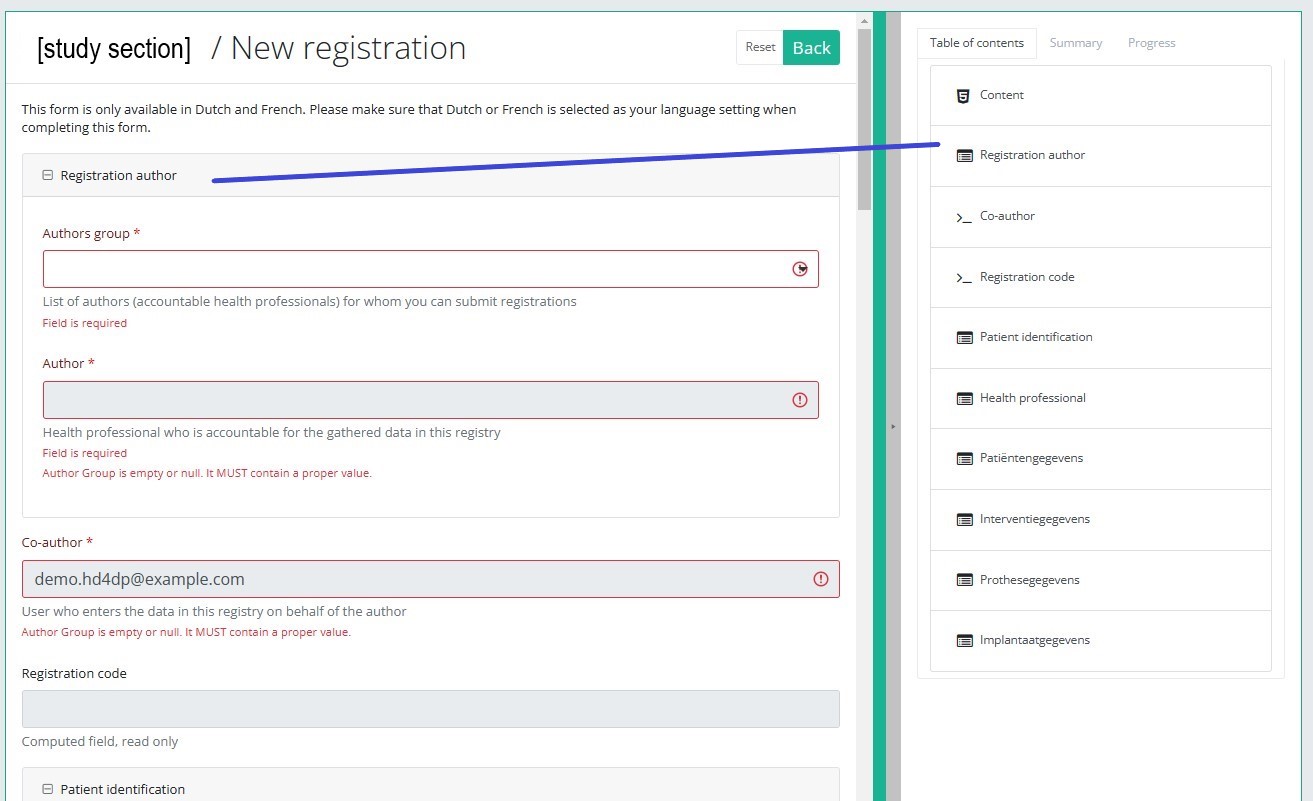
Table of contents
The Table of contents indicates which sections you must complete. You can also use the table of contents to navigate through the study form: clicking on a section in the table of contents will take you to this section in the study form.
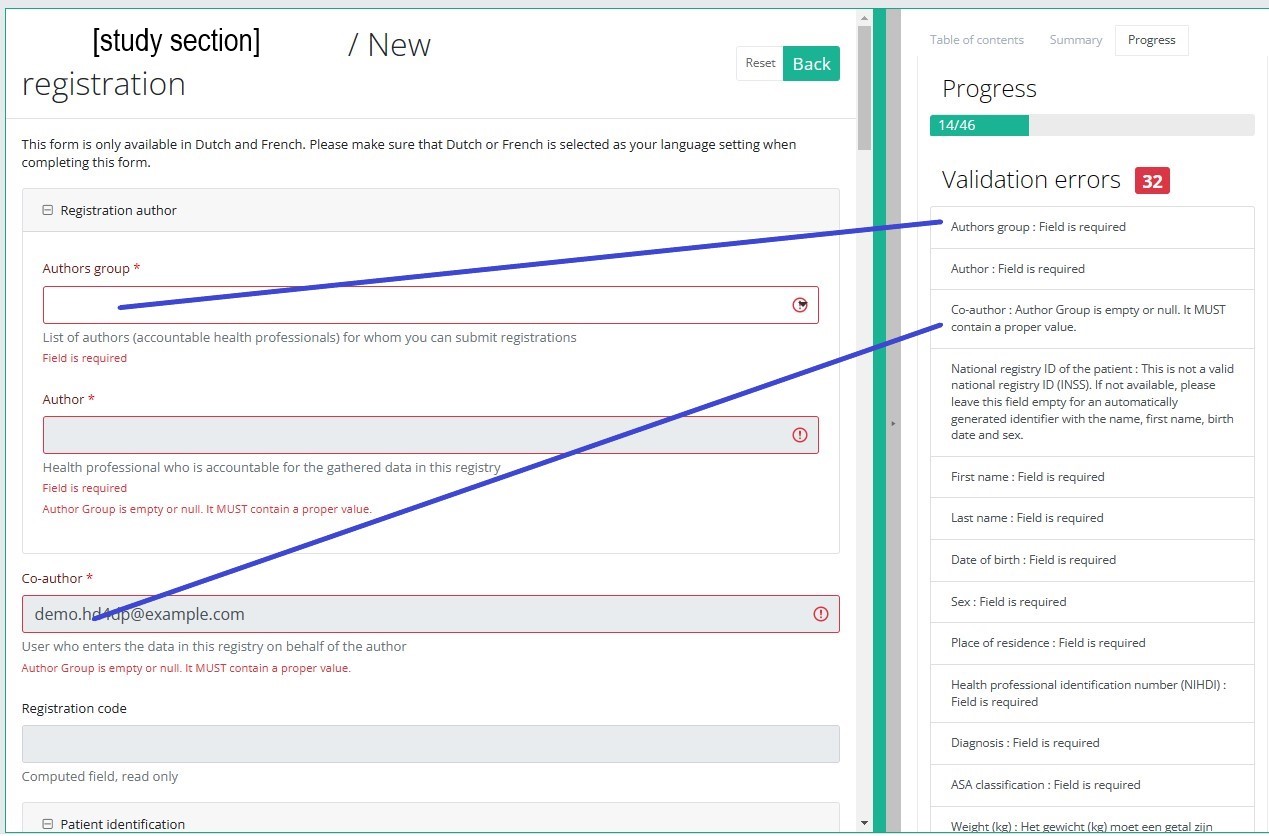
Progress
By selecting the tab "Progress" on the right-hand side of the screen, the table of contents will be replaced by a progress bar and a list of open validation errors).
You can use the list of open validation errors to navigate through the study form: selection of a validation error in the list will take you to this section in the study form.
When the study form is completed and there are no validation errors, you can save or submit this registration: Save or Submit. Notice that the Submit button is in clear green.
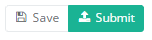
When the study form is completed but there are validation errors, you can save but not submit this registration: Save but not submit. Notice that the Submit button is in dim green.
When the study form is saved or submitted, the screen switches to the overview table. Now, this table is not empty anymore but shows the saved or submitted registration.
Create an MVO Follow-up registration
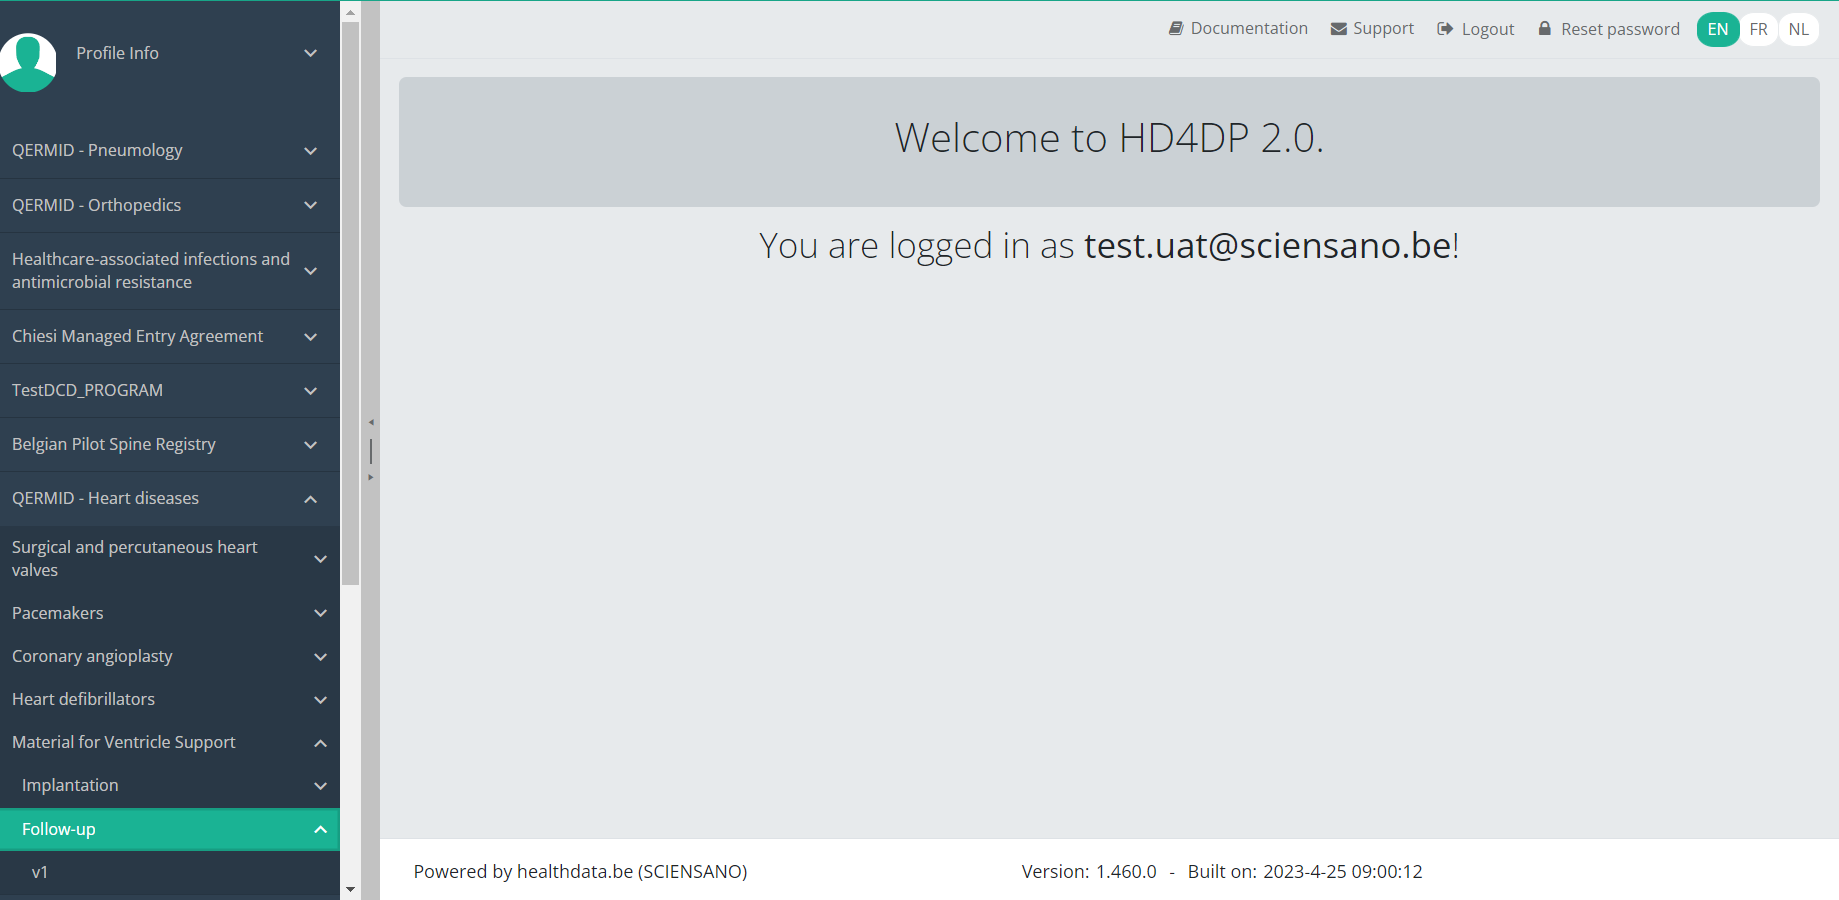
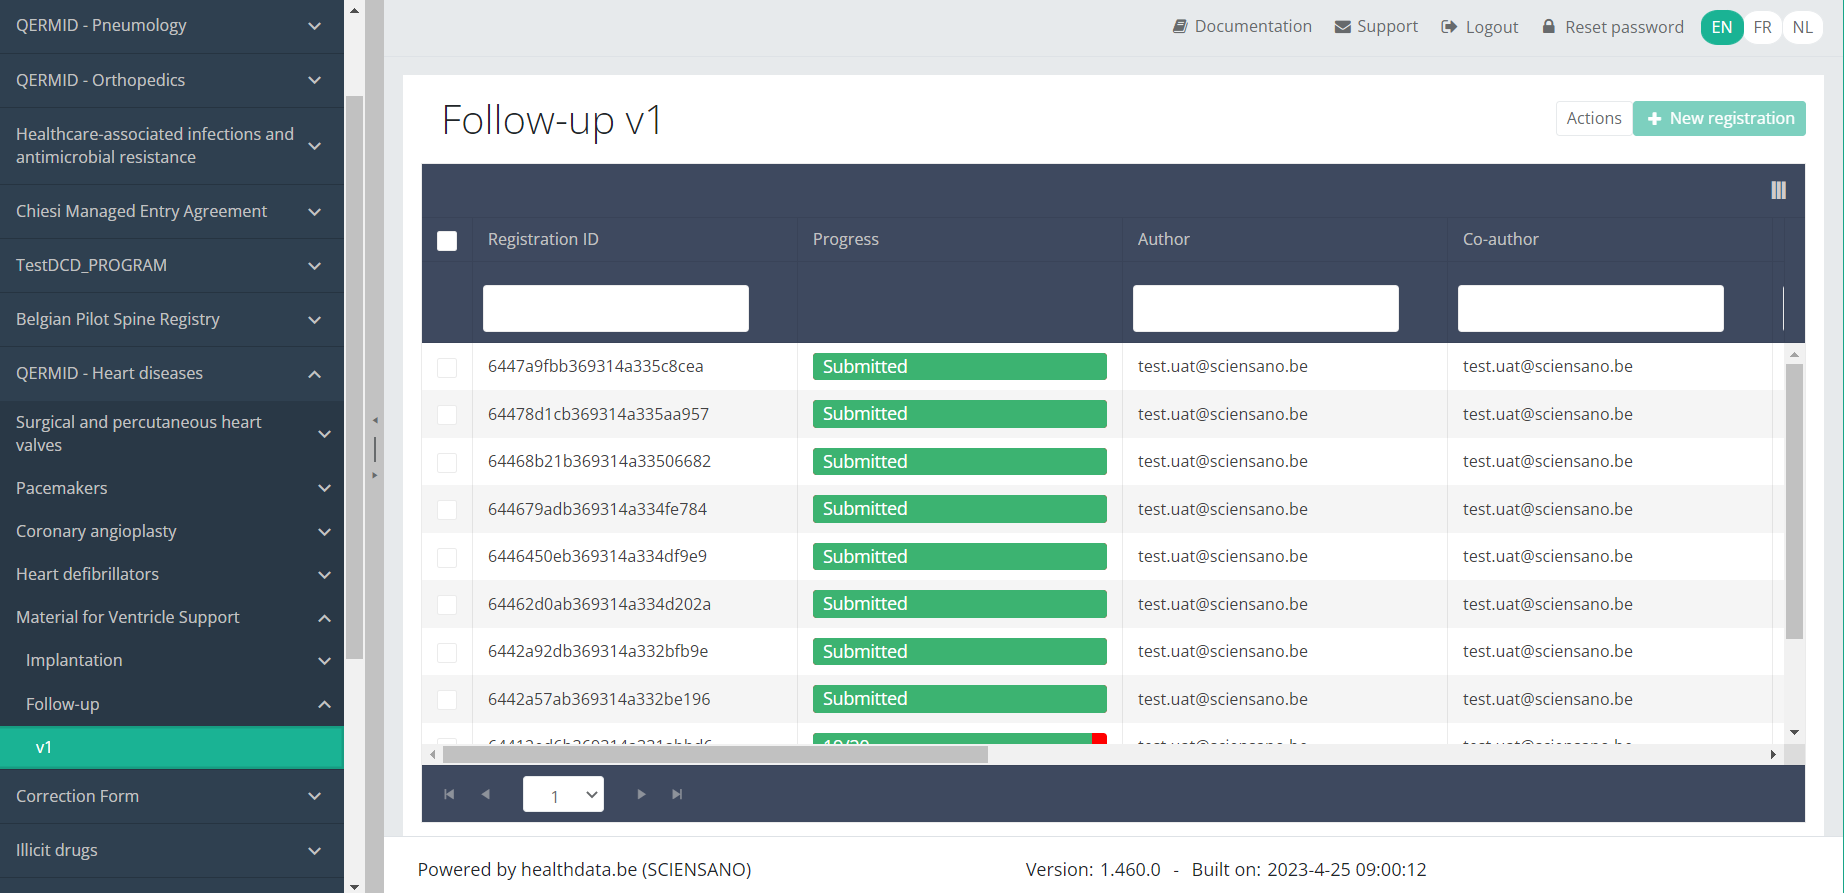
Create an MVO Follow-up registrationTo create a Follow-up registration for the study project Material for Ventricle Support, select "Follow-up" in the dark blue left menu.
You will see the number of versions of this study section. In this case, there is one version: v1.
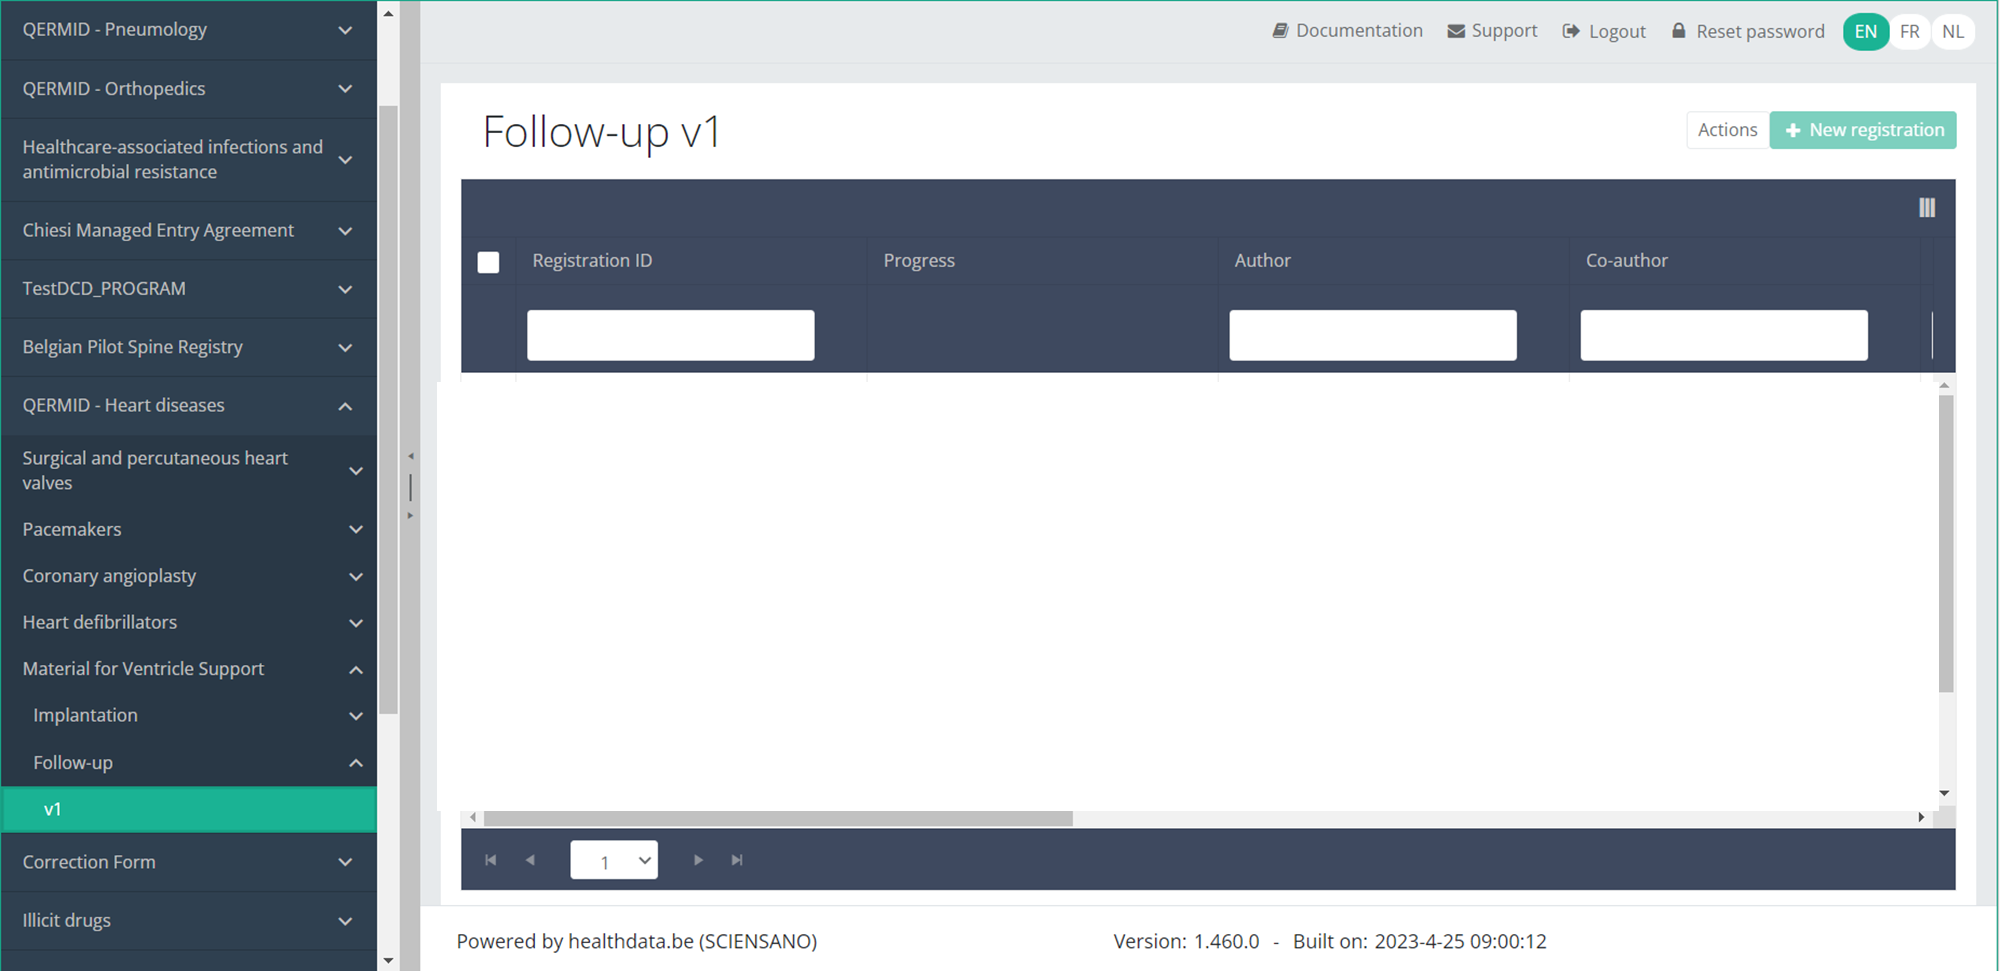
When you select the highest version of this study section for the first time, you will see an empty overview table in the main part of your screen. The table contains, among others, the following items: Registration ID, Progress, Author, Co-author, Unique ID, Business key, Registration code, National registry ID of the patient...
NOTE:
The study section is not always available in the selected language. In that case the text frame pictured below covers the language selection buttons. It automatically disappears after a few seconds.
You will have to select now the desired language with one of the other language buttons:
NL for Dutch, FR for French or EN for English.
In the top right corner of the screen you can find a green button "+ New registration". Select this button.
After selection of the "+ New registration" button the main screen will be replaced by 2 sections: a study form in the middle of the screen and a table of contents on the right-hand side of the screen.
By completing the study form you will create a registration for the respective study project.
Table of contents
The Table of contents indicates which sections you must complete. You can also use the table of contents to navigate through the study form: clicking on a section in the table of contents will take you to this section in the study form.
Progress
By selecting the tab "Progress" on the right-hand side of the screen, the table of contents will be replaced by a progress bar and a list of open validation errors).
You can use the list of open validation errors to navigate through the study form: selection of a validation error in the list will take you to this section in the study form.
When the study form is completed and there are no validation errors, you can save or submit this registration: Save or Submit. Notice that the Submit button is in clear green.
When the study form is completed but there are validation errors, you can save but not submit this registration: Save but not submit. Notice that the Submit button is in dim green.
When the study form is saved or submitted, the screen switches to the overview table. Now, this table is not empty anymore but shows the saved or submitted registration.
Find a MVO registration
Find a MVO registration Bart.Servaes Wed, 04/12/2023 - 18:02Find an MVO Implantation registration
Find an MVO Implantation registrationTo find an Implantation registration for the study project Material for Ventricle Support select "Implantation" in the dark blue left menu.

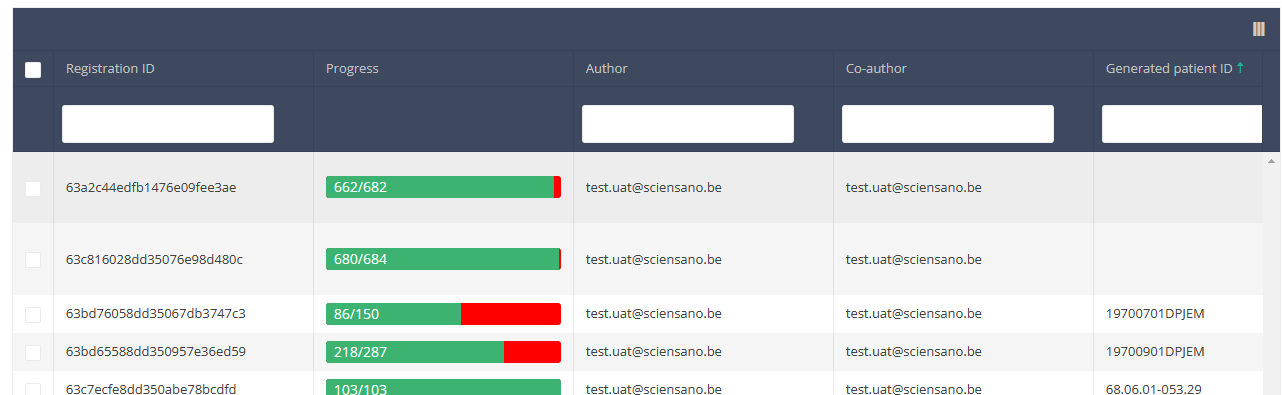
When you select a version of this study section, you will see the overview table in the main part of your screen. This table contains, among other things: Registration ID, Progress, Author, Co-author, Unique ID, Business Key, Registration Code, National Patient Registry Number…
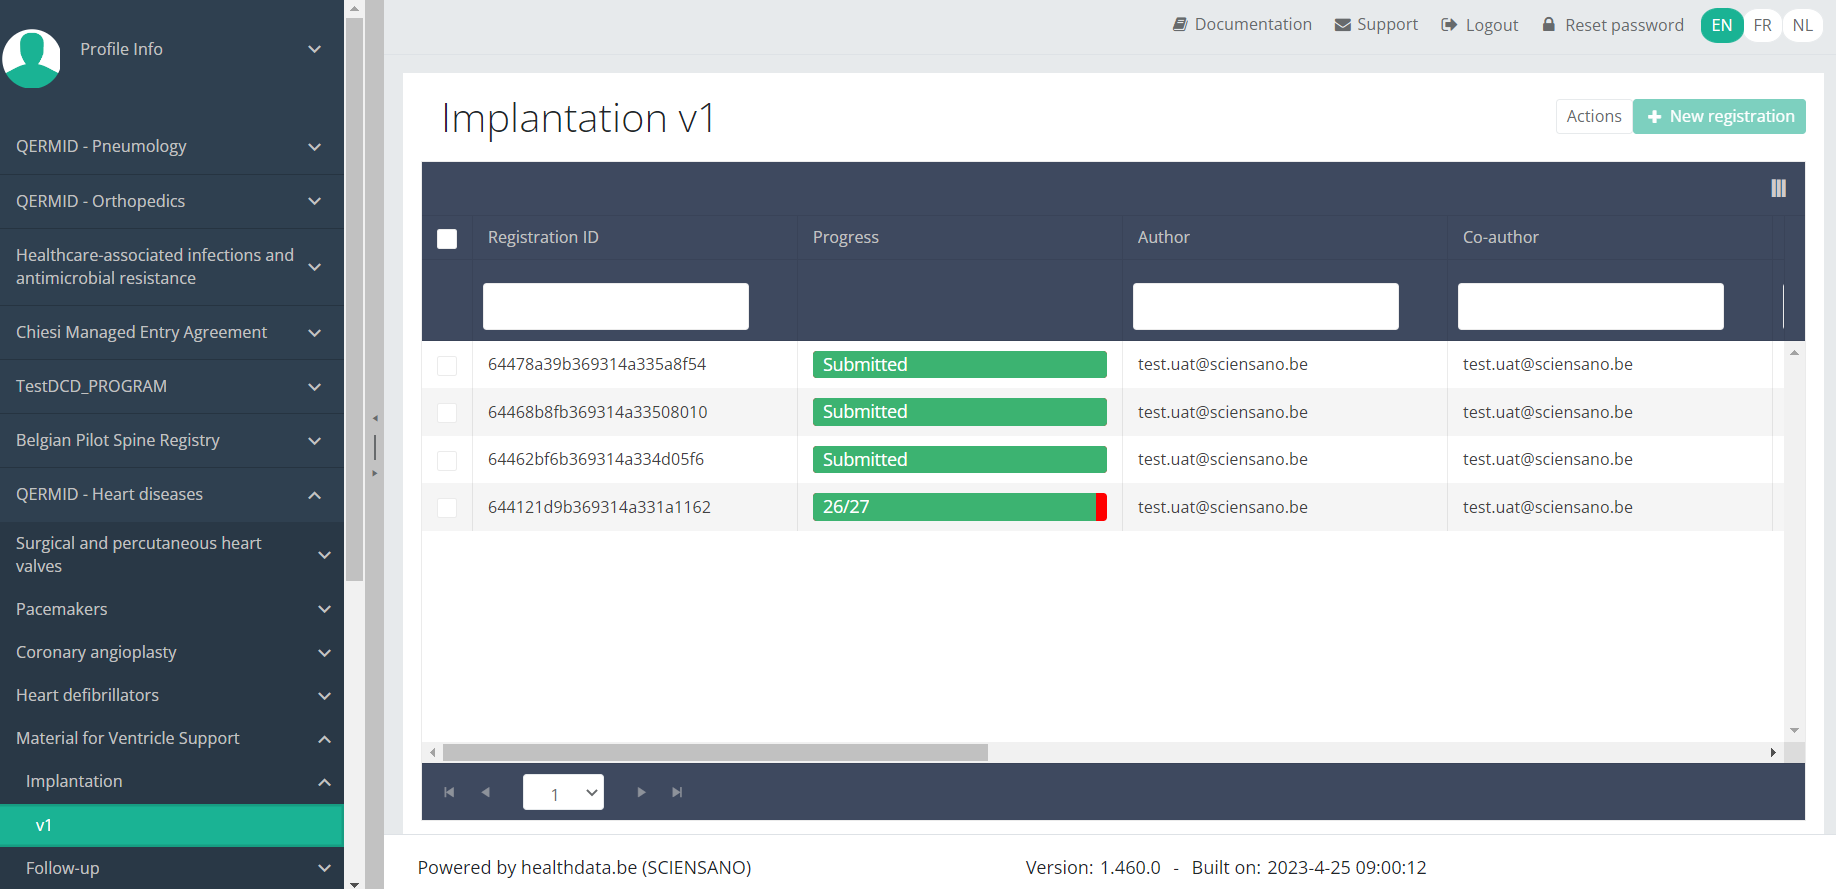
In the header of the overview table, you can use the filter below each column label.

Find a MVO Follow-up registration
Find a MVO Follow-up registrationTo find a Follow-up registration for the study project Material for Ventricle Support select "Follow-up" in the dark blue left menu.
When you select a version of this study section, you will see the overview table in the main part of your screen. This table contains, among other things: Registration ID, Progress, Author, Co-author, Unique ID, Business Key, Registration Code, National Patient Registry Number…

In the header of the overview table, you can use the filter below each column label.

Update an MVO registration
Update an MVO registration Bart.Servaes Wed, 04/12/2023 - 18:02Update an MVO Implantation registration
Update an MVO Implantation registrationTo update an Implantation registration for the study project Material for Ventricle Support, select "Implantation" in the dark blue left menu.
When you select a version of this study section , you will see the overview table in the main part of your screen. The table contains, among others, the following items: Registration ID, Progress, Author, Co-author, Unique ID, Business key, Registration code, National registry ID of the patient...

Use the filters in the header of the overview table to find the registration you want to update.
If you have found the registration, you can open the study form of the registration by clicking on the corresponding row in the overview table.
You can complete the missing fields and / or change previously completed fields in the study form.
At the end of the study form you can Save or Submit the registration.
A Spine Surgery registration can be updated as long as the registration has not yet been submitted. If the status of a registration is "Saved", the registration can still be updated.
If you save the registration, you can still edit it. A submitted registration can no longer be modified or deleted.
Update an MVO Follow-up registration
Update an MVO Follow-up registrationTo update a Follow-up registration for the study project Material for Ventricle Support, select "Follow-up" in the dark blue left menu.

When you select a version of this study section , you will see the overview table in the main part of your screen. The table contains, among others, the following items: Registration ID, Progress, Author, Co-author, Unique ID, Business key, Registration code, National registry ID of the patient...

Use the filters in the header of the overview table to find the registration you want to update.
If you have found the registration, you can open the study form of the registration by clicking on the corresponding row in the overview table.
You can complete the missing fields and / or change previously completed fields in the study form.
At the end of the study form you can Save or Submit the registration.
A Spine Surgery registration can be updated as long as the registration has not yet been submitted. If the status of a registration is "Saved", the registration can still be updated.
If you save the registration, you can still edit it. A submitted registration can no longer be modified or deleted.
Delete an MVO registration
Delete an MVO registration Bart.Servaes Wed, 04/12/2023 - 18:03Delete an MVO Implantation registration
Delete an MVO Implantation registrationTo delete an Implantation registration for the study project Material for Ventricle Support select "Implantation" in the dark blue left menu.

When you select a version of this study section, you will see the overview table in the main part of your screen. This table contains, among other things: Registration ID, Progress, Author, Co-author, Unique ID, Business Key, Registration Code, National Patient Registry Number…
Use the filters in the header of the overview table to find the registration you want to delete.
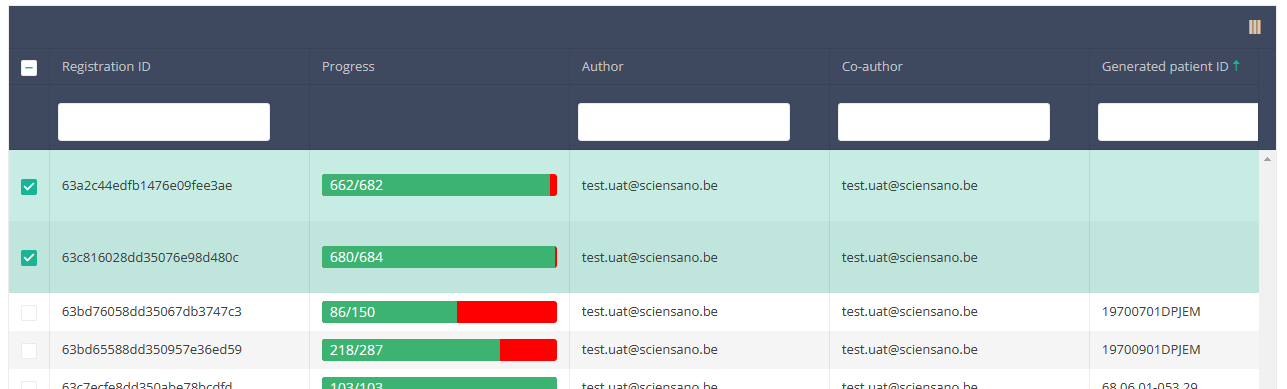
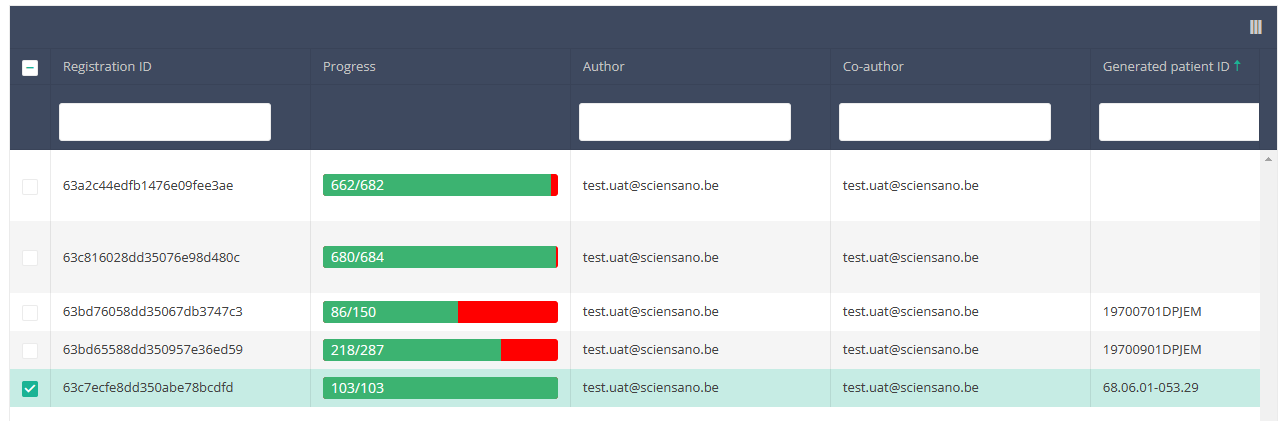
Once you have found the registration you want to delete, you must select the registration by checking the checkbox at the beginning of the row in the overview table.
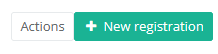
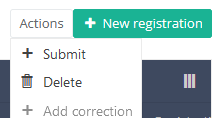
Then you need to press the "Actions" button at the top right of the summary table.
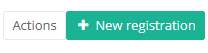
There are now two options, "Submit" and "Delete". Now press "Delete".

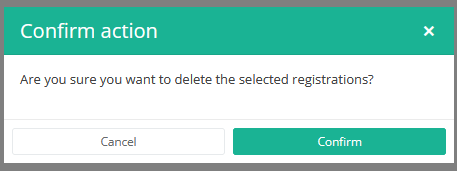
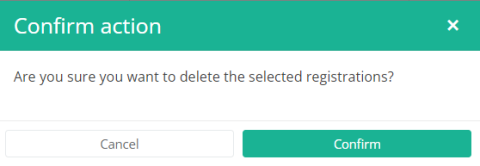
After you press "Delete," a pop-up message will appear asking you to confirm the deletion of the selected registration(s). If you are sure about this action, press "Confirm." If not, press "Cancel."
If you delete the registration, you cannot change its status or content.
The deleted registration will not be removed from the summary table. It remains present, but the status has changed from "Open" to "Deleted".
If you want to see only Open and Sent registrations, you can adjust the filter on the "Status" item in the summary table.
A registration can be deleted as long as the registration has not yet been submitted. If the status of a registration is "Open", the registration can still be deleted.
Delete an MVO Follow-up registration
Delete an MVO Follow-up registrationTo delete an Follow-up registration for the study project Material for Ventricle Support select "Follow-up" in the dark blue left menu.
When you select a version of this study section, you will see the overview table in the main part of your screen. This table contains, among other things: Registration ID, Progress, Author, Co-author, Unique ID, Business Key, Registration Code, National Patient Registry Number…

Use the filters in the header of the overview table to find the registration you want to delete.
Once you have found the registration you want to delete, you must select the registration by checking the checkbox at the beginning of the row in the overview table.
Then you need to press the "Actions" button at the top right of the summary table.
There are now two options, "Submit" and "Delete". Now press "Delete".
After you press "Delete," a pop-up message will appear asking you to confirm the deletion of the selected registration(s). If you are sure about this action, press "Confirm." If not, press "Cancel."
If you delete the registration, you cannot change its status or content.
The deleted registration will not be removed from the summary table. It remains present, but the status has changed from "Open" to "Deleted".
If you want to see only Open and Sent registrations, you can adjust the filter on the "Status" item in the summary table.
A registration can be deleted as long as the registration has not yet been submitted. If the status of a registration is "Open", the registration can still be deleted.
Submit an MVO registration
Submit an MVO registration Bart.Servaes Wed, 04/12/2023 - 18:03Submit an MVO Implantation registration
Submit an MVO Implantation registrationTo submit an Implantation registration for the study project Material for Ventricle Support using the overview table, select "Implantation" in the dark blue left menu.

When you select a version of this study section, you will see the overview table in the main part of your screen. The table contains, among others, the following items: Registration ID, Progress, Author, Co-author, Unique ID, Business key, Registration code, National registry ID of the patient...
Use the filters in the header of the table to find the registration(s) you want to submit. For example, you can use the filters "Status" (set to "Open") and "Validation Errors" (set to "0") to find the registrations that are eligible for submission.
Once you have found the registration(s) you want to submit, you must select the registration(s) by checking the checkbox at the beginning of the row in the overview table.
Then you need to select the "Actions" button at the top right of the overview table.
Two options will be available: "Submit" and "Delete". Select "Submit".
After you have selected "Submit," a pop-up message will appear asking you to confirm the submission of the selected registration(s). If you are sure about this action, click on "Confirm." If not, click on "Cancel."
Once you have confirmed the submission, you can't change the content of the registration(s) anymore. Submitted registrations can also no longer be deleted.
The submitted registration remains present in the overview table, but the status has changed from "Open" to "Submitted".
If you want to see only "Open" registrations, you can adjust the filter on the "Status" item in the overview table.
A registration can be submitted at the end of the creation process using the study form (see: Create a [project name] registration).
When the registration was completed using the study form, saved and there are no more validation errors, the registration can also be submitted via the overview table. This method can be useful to submit multiple registrations in the same action.
Submit an MVO Follow-up registration
Submit an MVO Follow-up registrationTo submit a Follow-up registration for the study project Material for Ventricle Support using the overview table, select "Follow-up" in the dark blue left menu.

When you select a version of this study section, you will see the overview table in the main part of your screen. The table contains, among others, the following items: Registration ID, Progress, Author, Co-author, Unique ID, Business key, Registration code, National registry ID of the patient...
Use the filters in the header of the table to find the registration(s) you want to submit. For example, you can use the filters "Status" (set to "Open") and "Validation Errors" (set to "0") to find the registrations that are eligible for submission.
Once you have found the registration(s) you want to submit, you must select the registration(s) by checking the checkbox at the beginning of the row in the overview table.
Then you need to select the "Actions" button at the top right of the overview table.
Two options will be available: "Submit" and "Delete". Select "Submit".
After you have selected "Submit," a pop-up message will appear asking you to confirm the submission of the selected registration(s). If you are sure about this action, click on "Confirm." If not, click on "Cancel."
Once you have confirmed the submission, you can't change the content of the registration(s) anymore. Submitted registrations can also no longer be deleted.
The submitted registration remains present in the overview table, but the status has changed from "Open" to "Submitted".
If you want to see only "Open" registrations, you can adjust the filter on the "Status" item in the overview table.
A registration can be submitted at the end of the creation process using the study form (see: Create a [project name] registration).
When the registration was completed using the study form, saved and there are no more validation errors, the registration can also be submitted via the overview table. This method can be useful to submit multiple registrations in the same action.
Send a correction of a registration
Send a correction of a registrationTo send a correction of a submitted registration you need to submit the complete record again. An overview of the submitted corrections is available via the HD4DP v2 generic correction form.
The Add corrections function (and button) to a registration form has been discontinued. It is not available anymore, neither via the overview table, nor via the preview page of a registration.
Submitting the complete record again
The preferred way to send a correction is to fill out the complete registration form with the correct values and resubmit it. When you do so, the most recent version of the record that is received by healthdata.be will be considered to be the correct one.
Whether a record qualifies or not is determined by a so-called business key. This is a unique set of values of specific fields per record, such as a combination of the patient ID and the hospitalization date, or the niss code and the sample ID. The business key is created when submitting the original record, and so helps to identify the most recent record received in the healthdata.be database in case of resubmission.
Attention: In case one of the fields that build the business key needs to be corrected, the record that will be resubmitted will have a different business key. Consequently, both records will be considered as correct ones, since there is no identical business key.
You may consider to log a RITM ticket via our Service portal (https://sciensano.service-now.com/sp) to follow-up on this particular case.
There are two options to resubmit a record:
Option 1: Submission via S2S API / CSV Upload
The correction of the values is performed directly in the json or csv file. To resubmit the complete record via the back-end, please refer to the applicable technical documentation pages. The examples shown in the links below are for Pacemaker Primo-Implantation:
- For submitting the complete record as a .json file via S2S API, go here.
- For submitting the complete record as a .csv file via CSV Upload, go here.
Option 2: Submission via the HD4DP 2.0 web application
First, you need to access the HD4DP v2 web application, navigate to the study program and select the desired study project in the left dark blue menu. Then, fill out the complete registration form again manually with the correct values. Resubmit the completed registration form.
The previously submitted record will become irrelevant based on the business key.
The generic correction form
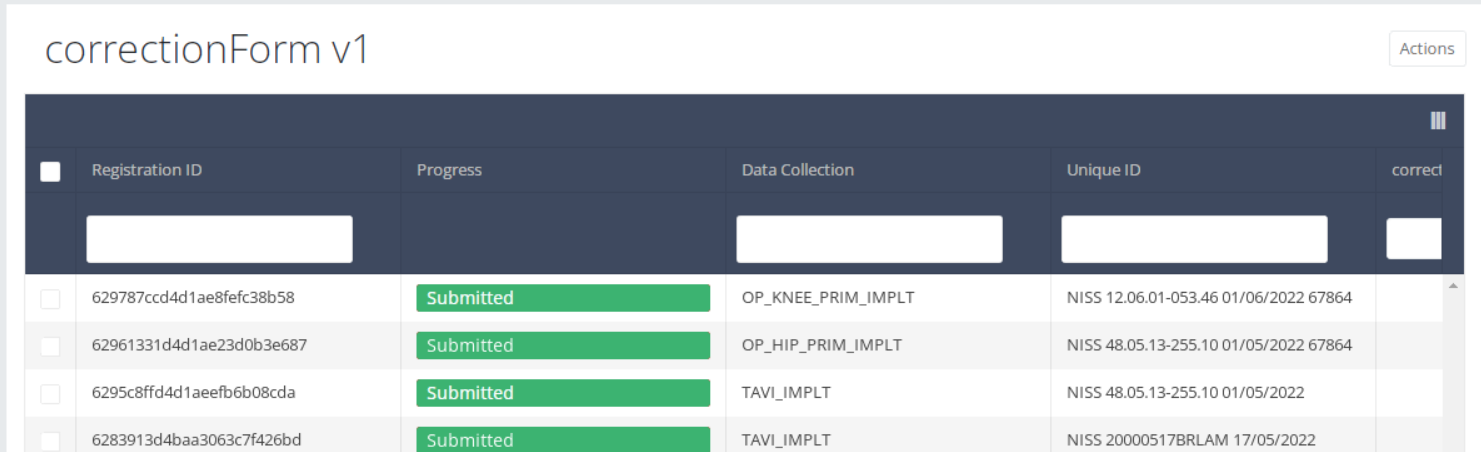
The Correction Form you can find in the list of study programmes and study projects in the HD4DP v2 web application contains an overview of all submitted corrections of registrations.
If you want to preview these corrections of registrations, navigate to the study program Correction form and then to the study project Correction form. Finally, select the most recent version.
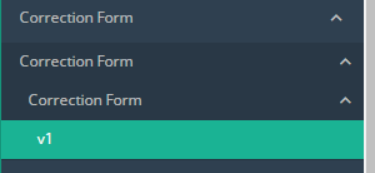
The corrections of registrations of the different projects will be displayed READ-ONLY in the overview table.
Registration statuses in HD4DP v2
Registration statuses in HD4DP v2This article explains the different registration statuses in HD4DP v2.
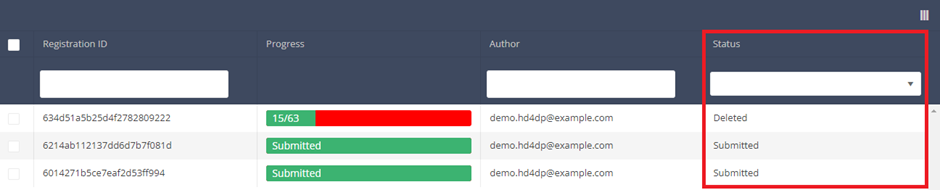
Statuses are shown in Status column
You can select the columns you want to display via the menu Select visible columns located in the top-right corner:
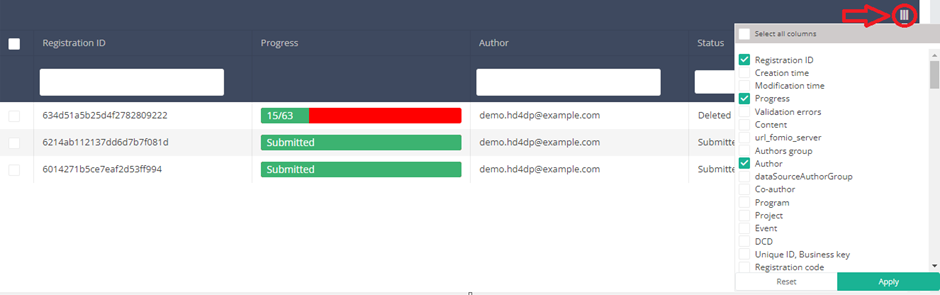
Select the columns you want to display and click on Apply.
Description of the statuses:
Open: Registration is created and stored. It has not been submitted
Deleted: Registration has been deleted.
Submitted: Registration has been submitted and sent.
Reset password for HD4DP v2
Reset password for HD4DP v2After having received your credentials to login to the HD4DP 2.0 application, you can consider to reset the password to one that is easier for you to remember.
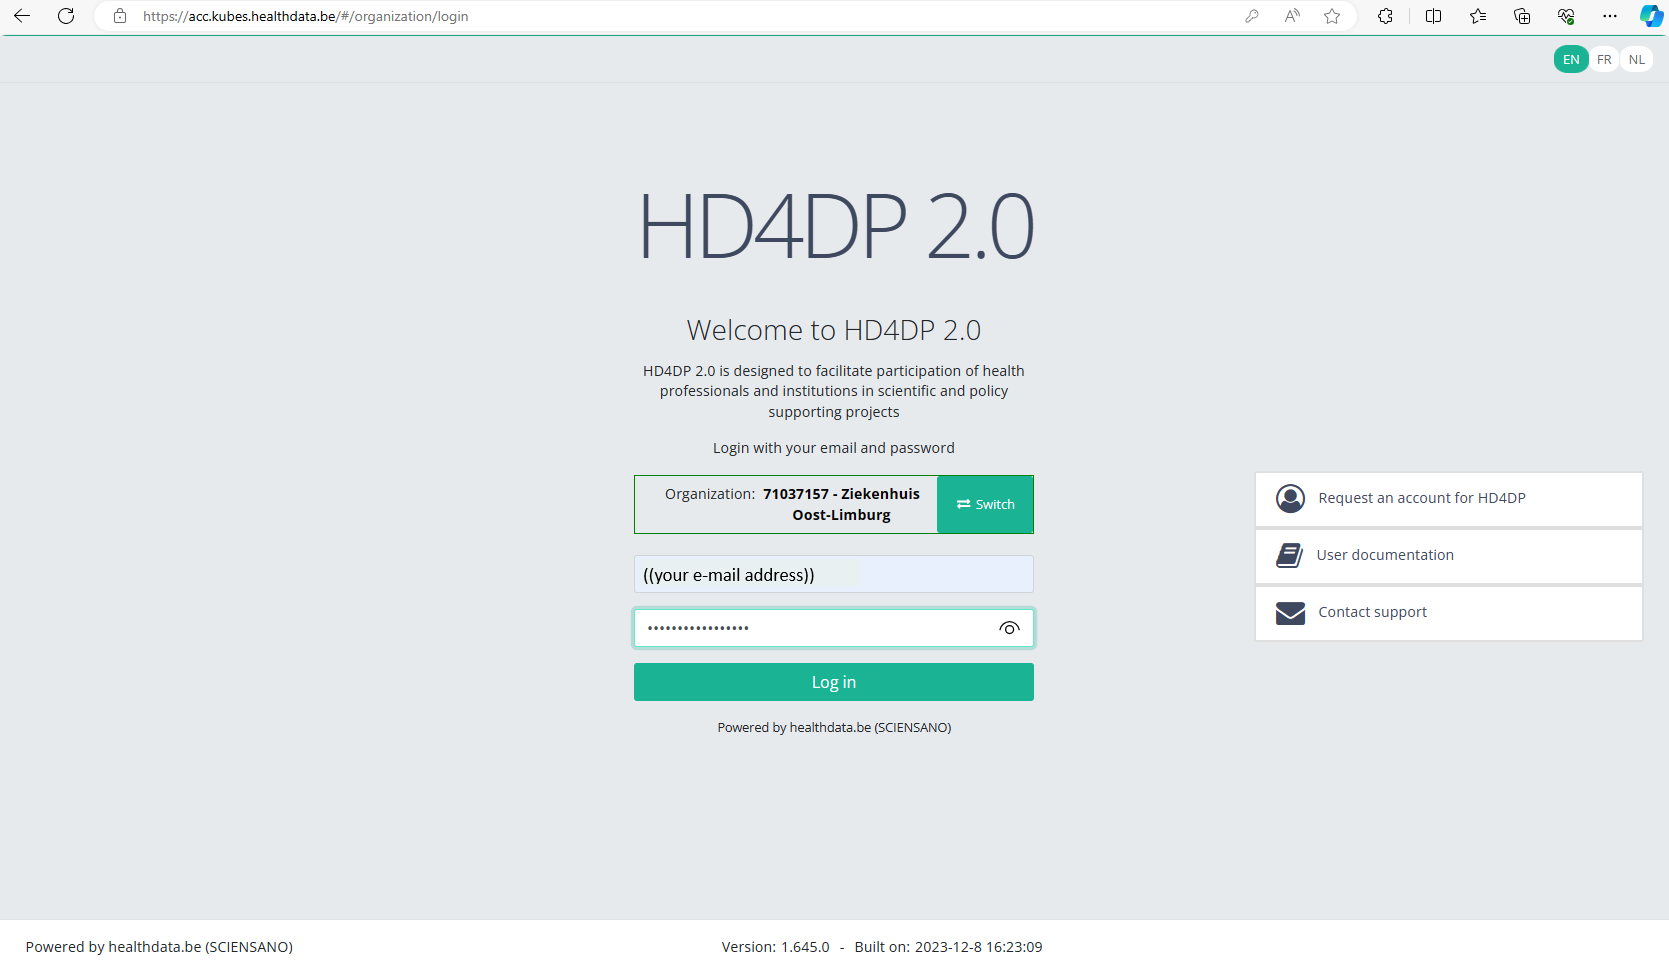
Go to URL https://acc.kubes.healthdata.be/, select your organization and click on the Next button.
Fill in your e-mail address and the password you received. Click on the Log in button.
The main HD4DP 2.0 application screen appears. On the left you can see the menu of study programmes and study projects, on the right you have the section in which the relevant registrations will become available.
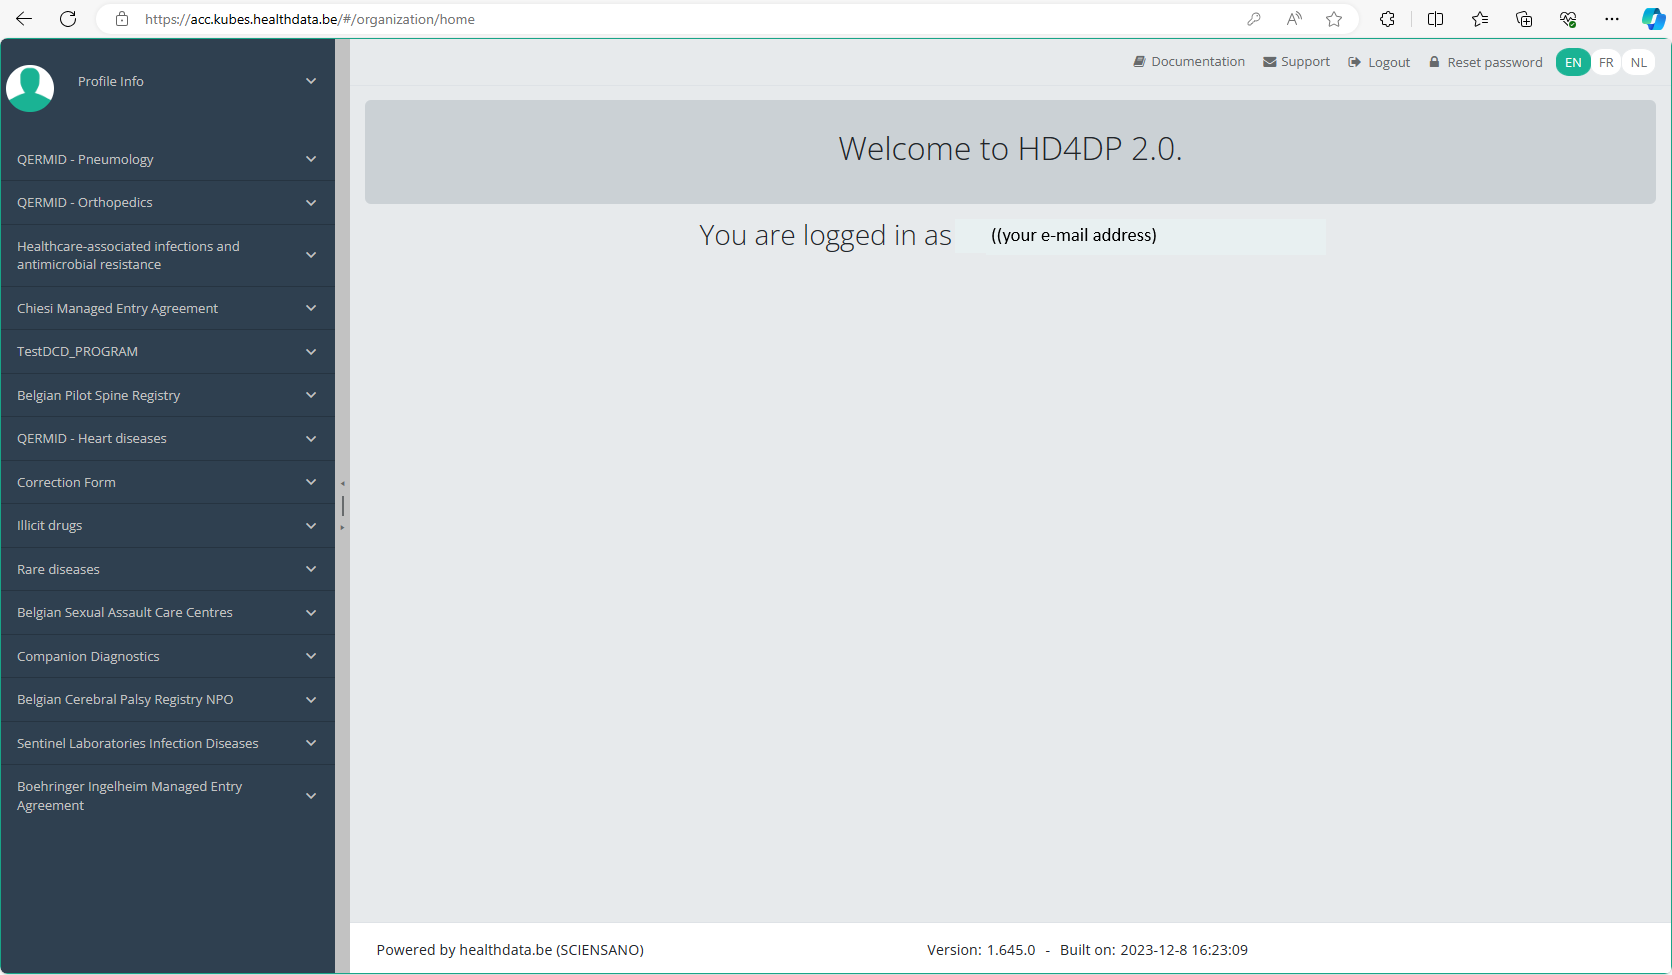
At the top right of the screen you notice the Reset password link. Click on it.
Reset the password you have received by filling in the password of your preference. Repeat the new password in the verification field and click on the Submit button.
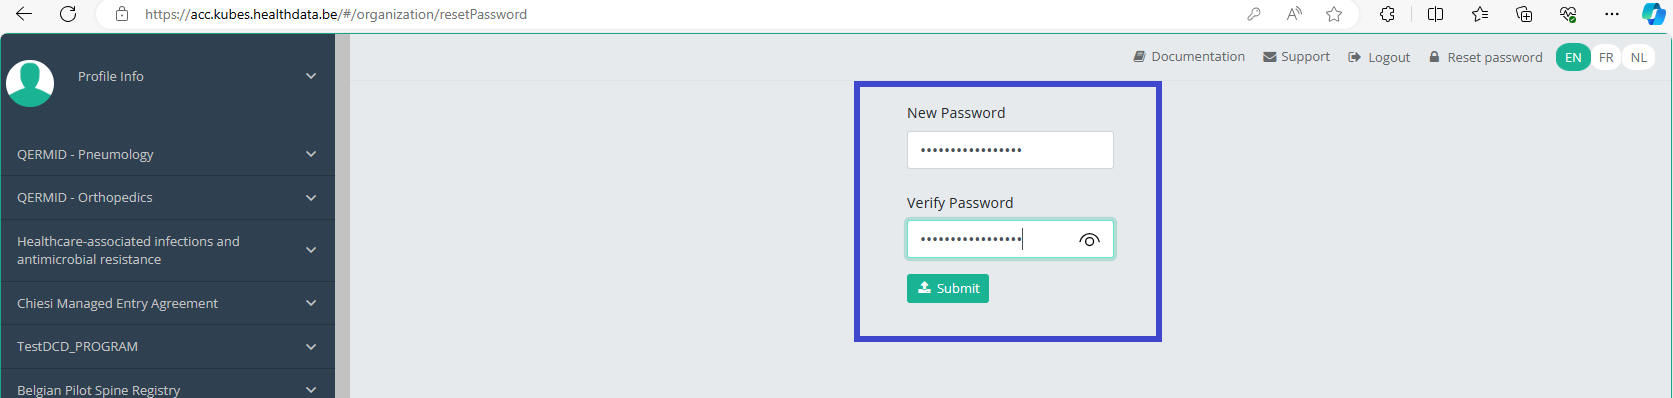
You will be redirected to the main screen, and the password will be automatically reset in the background. You don't need to log in again now.
When logging back in for a next registration session you will have to use your new password.