Submit a project
Submit a project manager Thu, 11/11/2021 - 16:16Create a project
Create a projectWhen you want to provide metadata about new project / data collection, please take the following steps:
- First you need to make sure that the project / data collection you want to add is not published already, by searching for it on FAIR portal (https://fair.healthdata.be/sources/metadata_projects). If the project does exists there, you can contact support to take ownership of that project.
- If you are certain that the project doesn't exist, click on Create project menu item at the top right corner of the screen and fill in all necessary info.
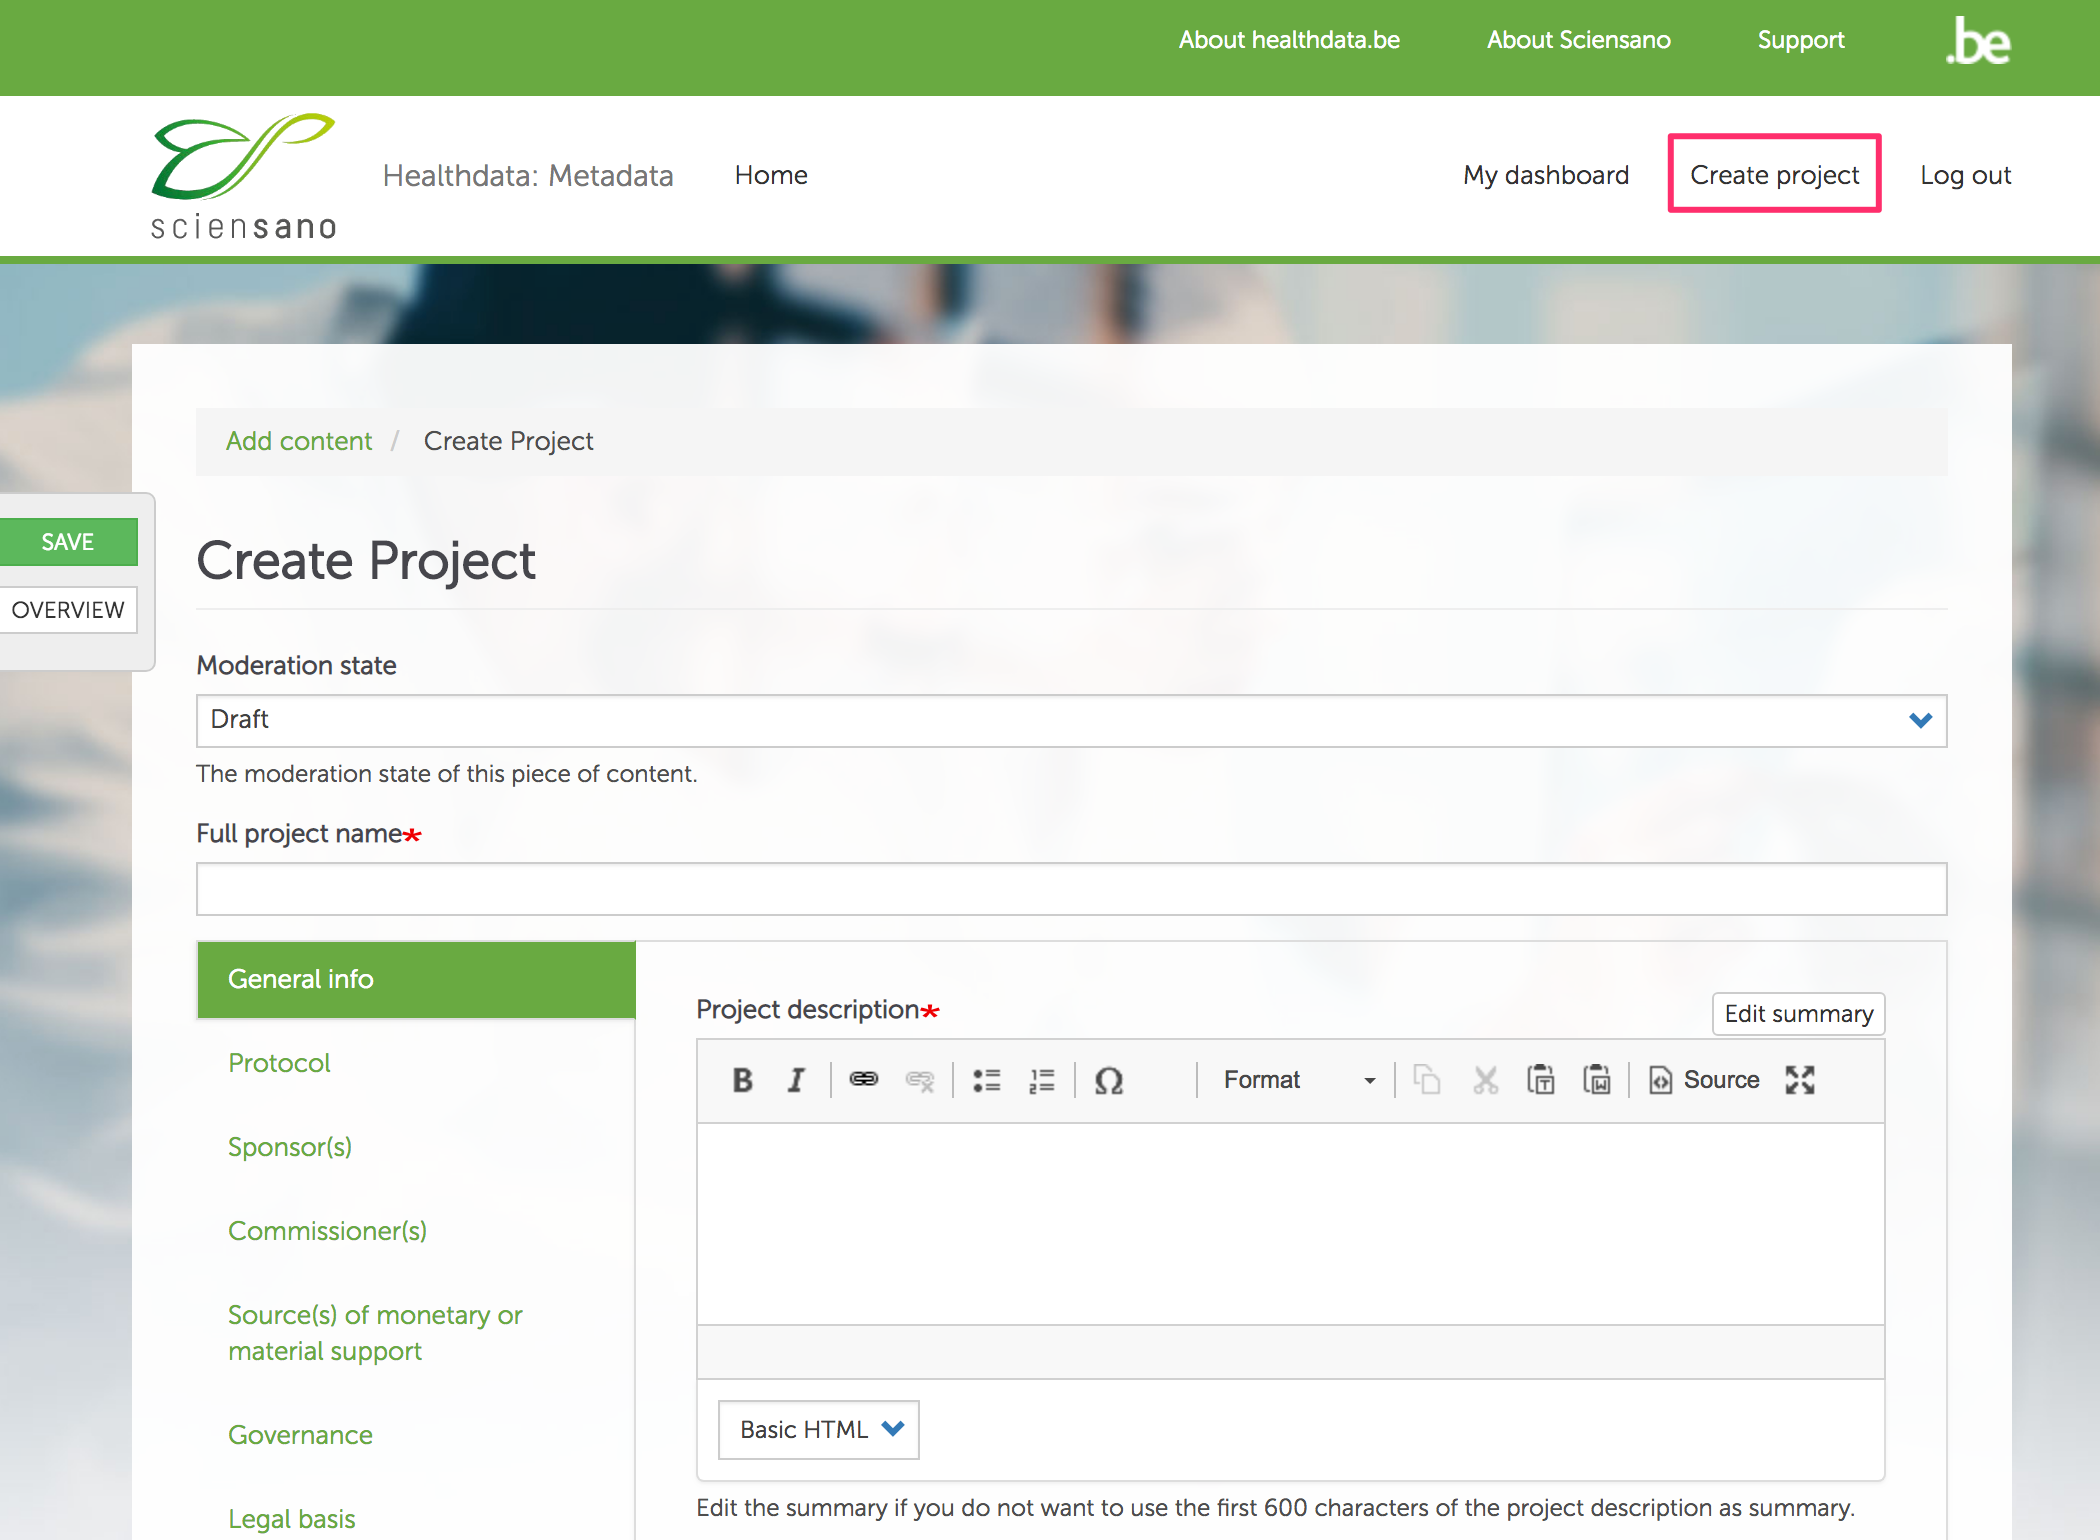
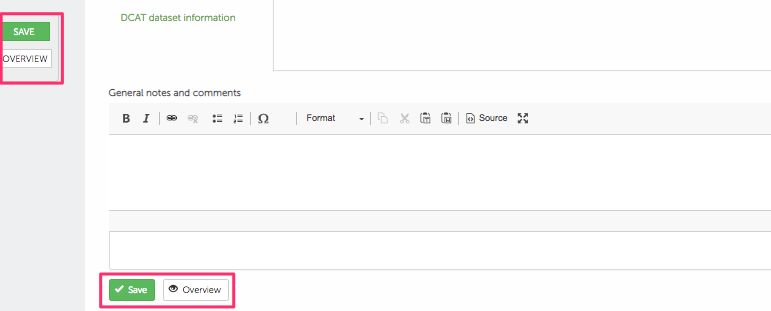
To Save a project or view an Overview of filled-in information, you can use the hovering buttons to the left (see screenshot) or the same buttons at the bottom of the project editing screen. To see the different versions (revisions) of the project use Revisions tab at the top of the screen (next to project title).
Edit a project
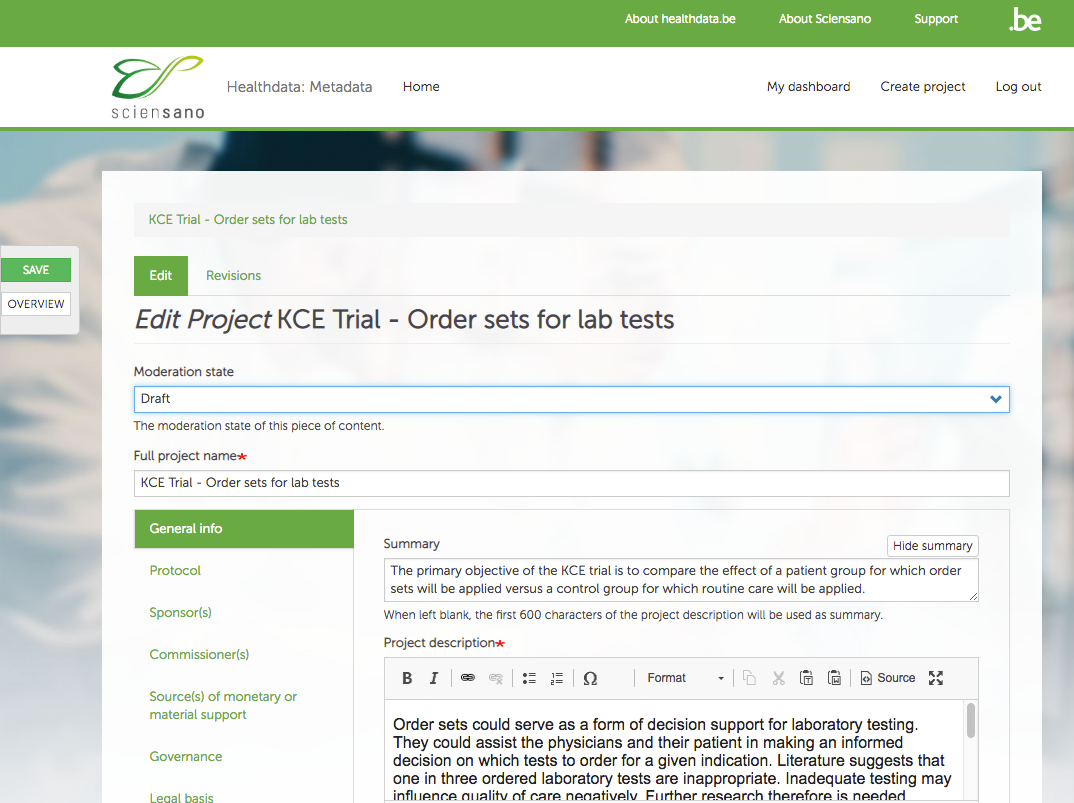
Edit a projectTo edit a project, you need to click on Edit button in column Operations (see screenshot) on you Dashboard.

Next a project editing screen will be displayed, allowing you to fill-in and / or edit project-related information:
Approval of workflow
Approval of workflowEach project goes through an approval workflow transitioning through a number of states. Depending on the state the project is on, the project becomes editable or visible to certain categories of users.
For example, when a new project is created, it is in Draft state and is only visible to the Project team, but once it enters Ready for Approval state, it is not editable by the Project team anymore and can only be approved or changed by Coordinators.
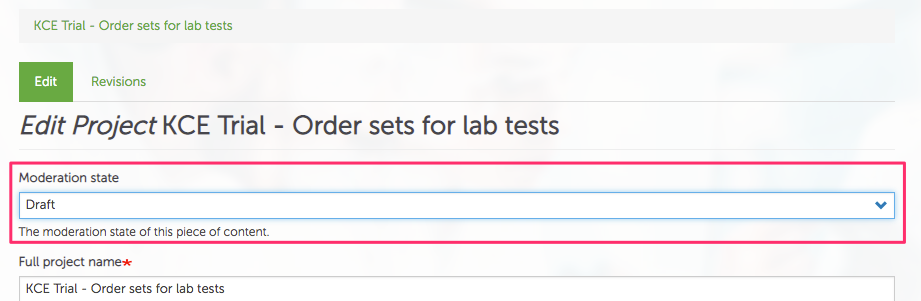
Depending on the user's role and permissions some Moderation states will not be visible / available.
Project fields
Project fieldsWhen entering project information you should try to provide as much information as possible by filling-in as much fields as possible.
The project form structure and the different field types are discussed below.
Project title and project sections
The name of the project as it is seen in project lists and overviews should be entered in Full project name field.
Almost all other fields are organized in a number of groups / sections, found to the left of the project screen as vertical tabs. To view a certain section click on the tab in question.
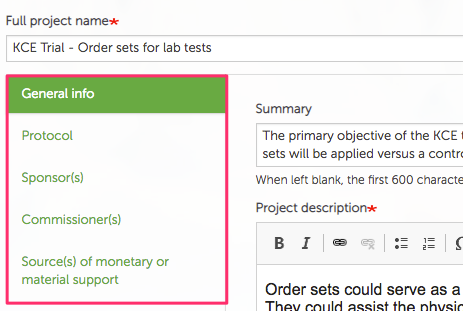
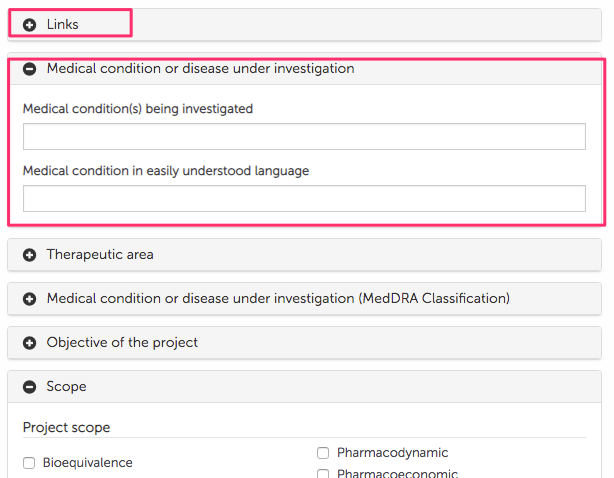
Some project fields are further grouped into foldable fieldsets, which are recognisable by a grey panel with a plus / minus sign (to open / close, just click on it).
Field types
There are different types of fields used throughout the project form:
- Text (Textfield / Textarea)
- Checkbox
- Radio-button
- Select list (drop-down)
- Contact
- Approval
Text (Textfield / Textarea)
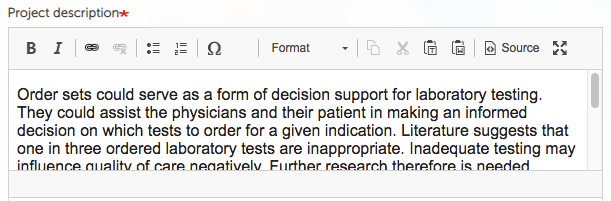
Textfield allows entry of an unformatted line of text. The maximum length is usually max. 255 characters. Textarea, allows entry of formatted text with the help of basic word-like editor.
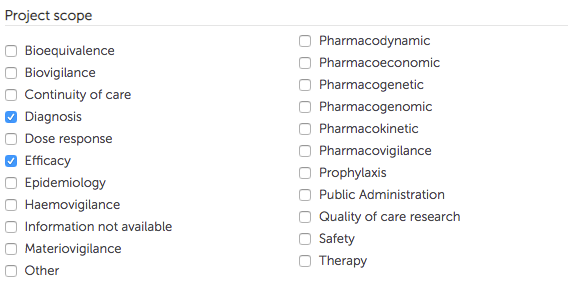
Checkbox
Checkboxes allow selection of one or more options. Selection of some options can trigger visibility of extra elements.
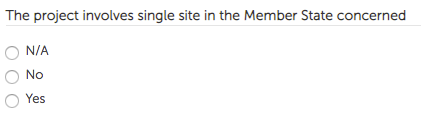
Radio-button
Radio-buttons allows selection of only one option. Selection of some options can trigger visibility of extra elements.
Select list (drop-down)
A drop-down allows selection of only one option. To make a selection click on the down-arrow sign and choose an option from the list.

Contact (Persons / Organisations)
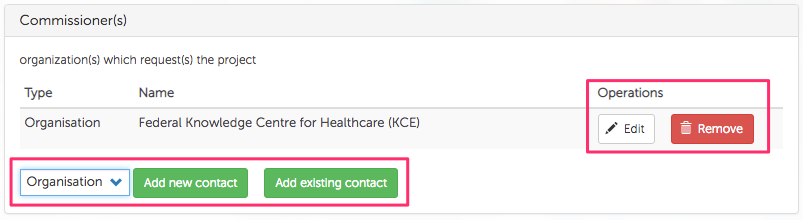
There are two possible contact types: Person and Organisation. Each type consists of a number of fields (name, address, e-mail etc.). Contacts can be created / edited by the user.
To add a contact, first select a Contact Type (Organisation or Person) from the drop-down, then click on Add new contact button to add a new contact or click on Add existing contact to search and add a contact which already exists in the system.
To edit a contact, click on the Edit button next to it. To remove a contact, click on Remove button.
When adding contacts, please make sure you first try to search for a contact by using Add existing contact option and typing the possible name (or a part of it) into the search field.
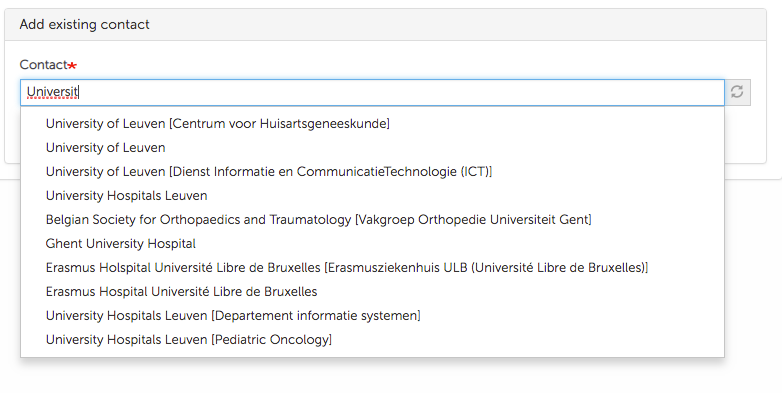
Only if this search doesn't deliver any results, consider adding a new contact.
Approval
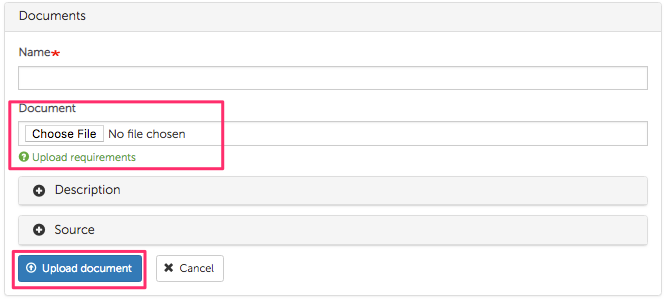
To provide information about Approval, first you need to indicate if a certain authorization is available by selection an option from a drop-down. If selected option is 'Yes', then additional Approval-related fields become available for entry and need to be completed.
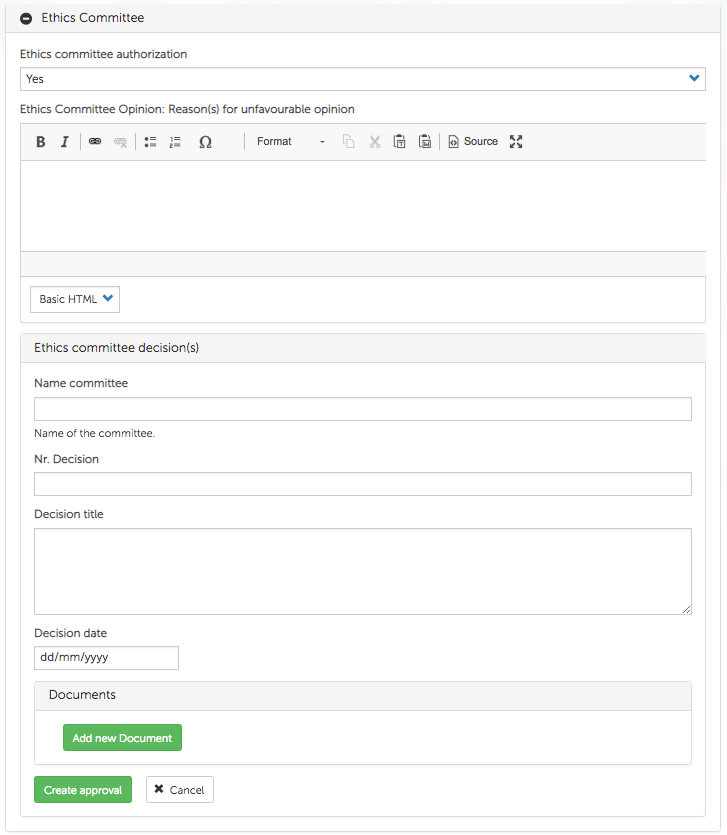
There is also a possibility to upload and attach a file / document to the approval by clicking on Add new Document and completing the fields: